#Overview
For your convenience, WP Fusion includes bundled copies of the site tracking scripts for:
- ActiveCampaign
- AgileCRM
- Bento
- Brevo
- Customer.io
- Drip
- Emercury
- Encharge
- EngageBay
- HubSpot
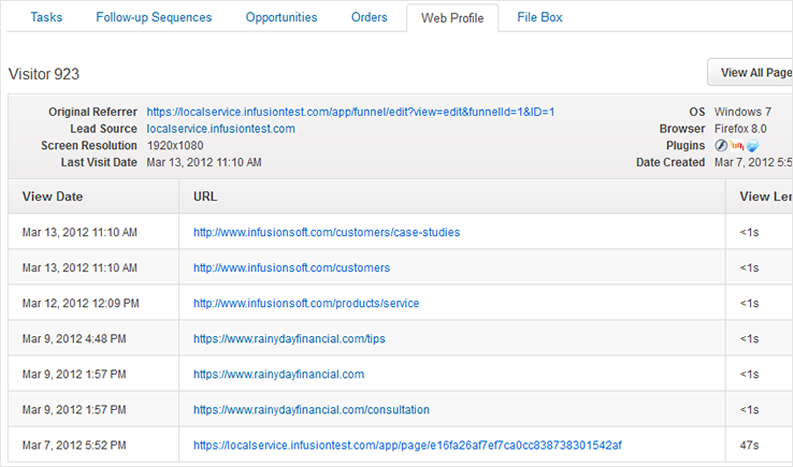
- Infusionsoft / Keap
- Intercom
- MailerLite
- Mautic
- and Ontraport
To enable site tracking, check the box on the main WP Fusion settings page, on the General settings tab.
Once enabled, visitors and users will be tracked using each CRM’s tracking methods, and tracking data will appear on contact records in your CRM.
#How it works
#ActiveCampaign
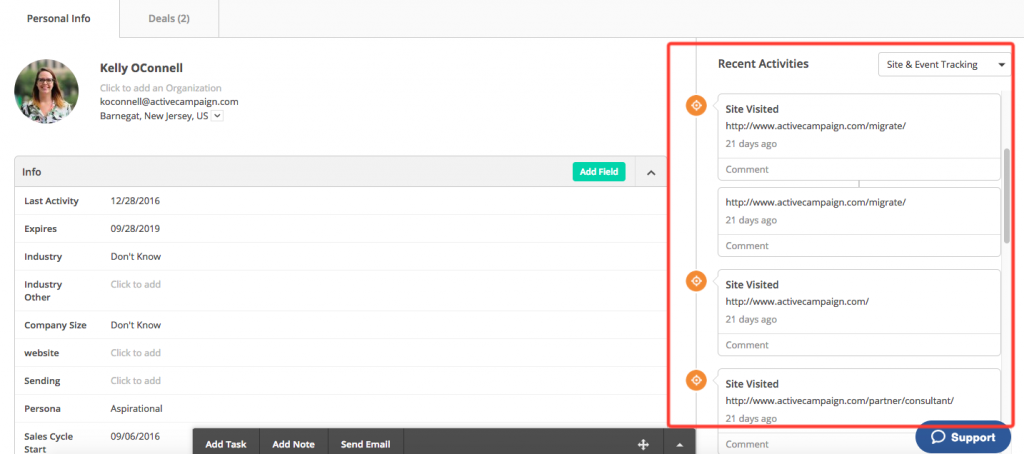
In addition to loading the ActiveCampaign site tracking script in the footer of your site, WP Fusion will also identify any logged in users to the tracking script by email address. This also works with auto login links and form auto login.
In cases where a guest (not logged-in) makes a purchase or fills out a form using a supported form plugin, WP Fusion will try to set a cookie wpf_guest, containing the person’s email address.
When this cookie is present, the email address in the cookie will also be passed to the ActiveCampaign site tracking script. This makes it possible to start tracking a site visitor after a guest checkout or form submission, despite them not having a user account on the site,
#AgileCRM
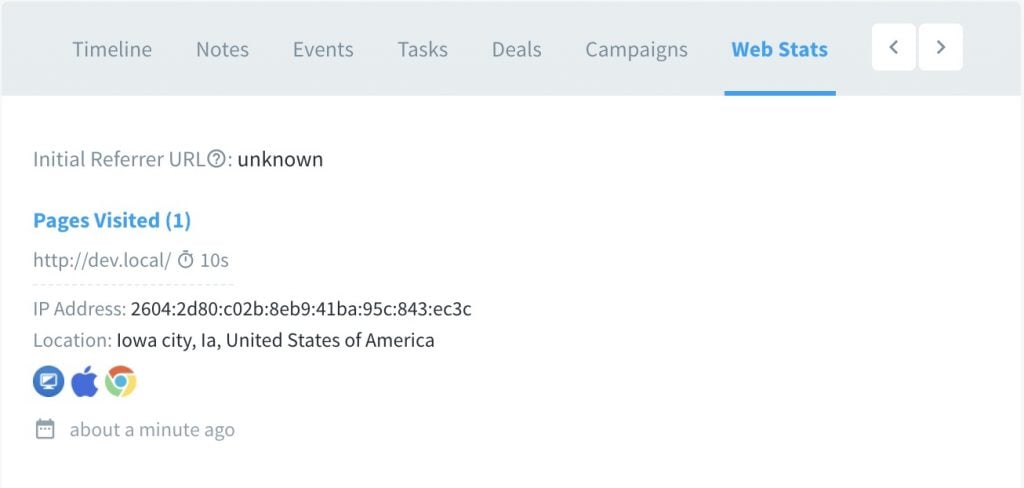
In addition to loading the AgileCRM site tracking script in the footer of your site, WP Fusion will also identify any logged in users to the tracking script by email address. This also works with auto login links and form auto login.
#Bento
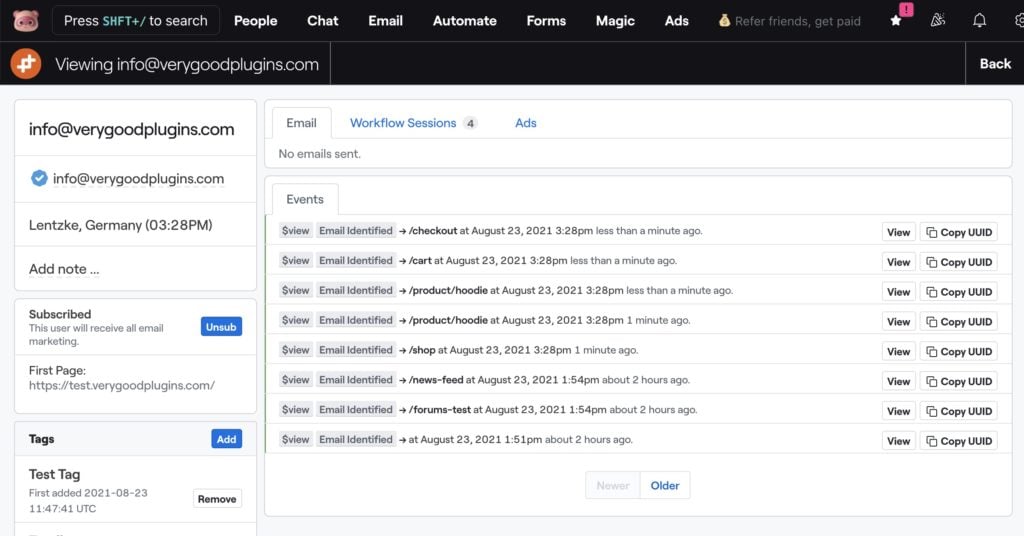
In addition to loading the Bento site tracking script in the header of your site, WP Fusion will also identify any logged in users to the tracking script by email address.
This also works with auto login links and form auto login.
#Brevo
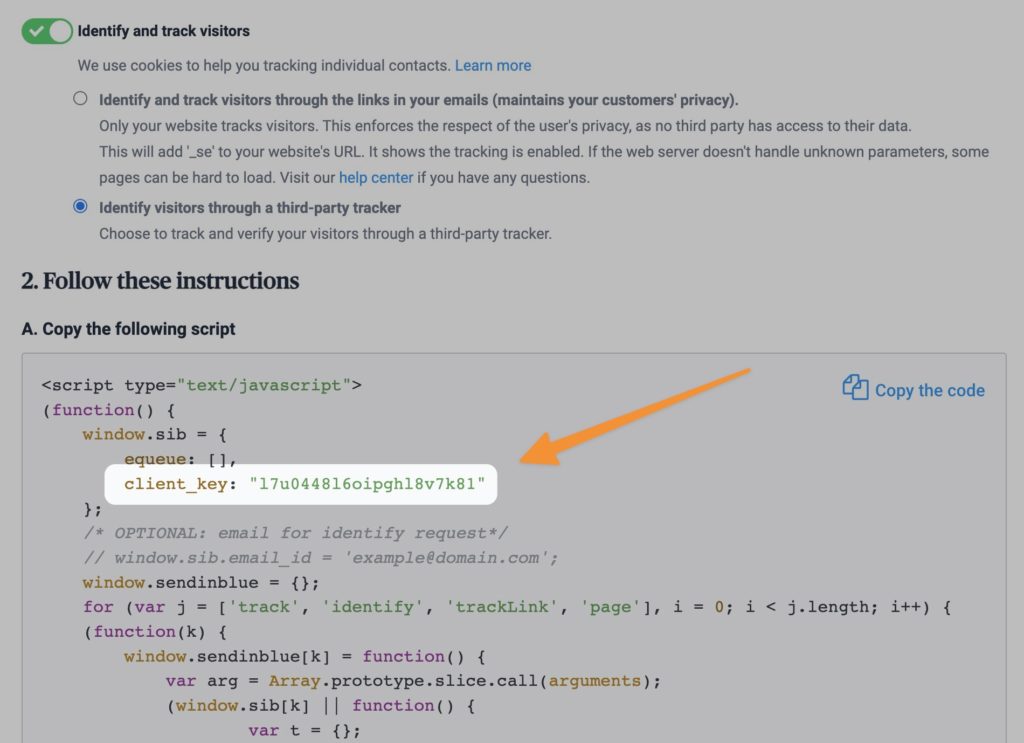
To enable Brevo’s site tracking, first check the box for Site Tracking in the WP Fusion settings.
You will need your client key, which can be found in the Automation settings of your Brevo account.
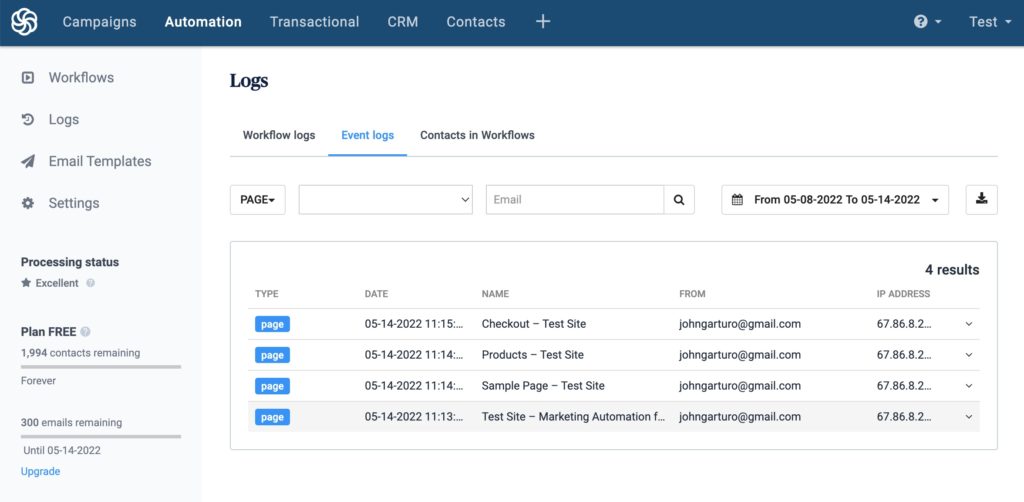
Once enabled, WP Fusion will output the Brevo tracking code in the header of every page of your site.
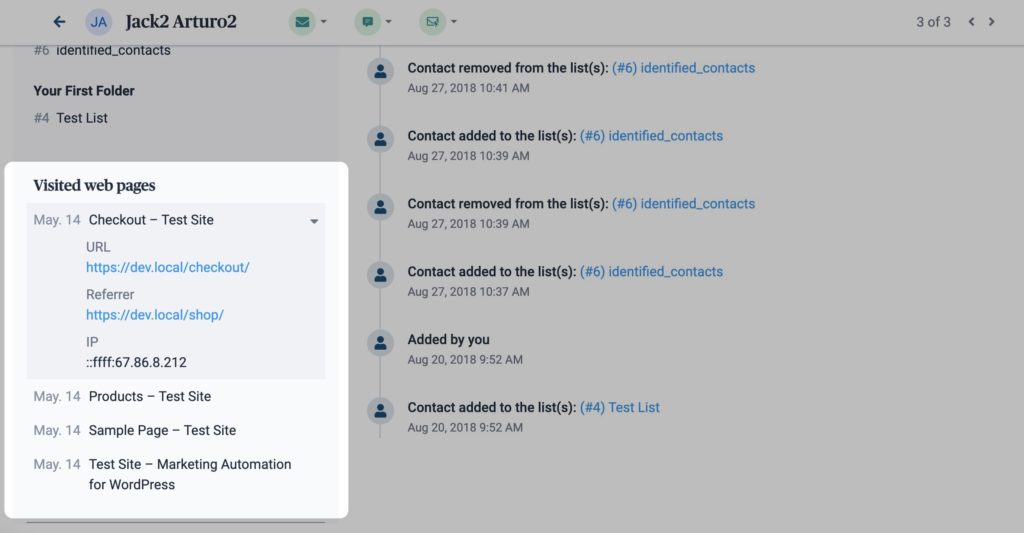
If your users are logged in or otherwise identified to WP Fusion (for example via an Auto Login Link) WP Fusion will also pass the user’s email address to the tracking script, which will associate their activity with their corresponding Brevo contact record.
#Customer.io
To enable Customer.io site tracking, check the box for Site Tracking on the General tab in the WP Fusion settings.
WP Fusion will automatically output the Customer.io site tracking scripts in the footer of every page on your site.
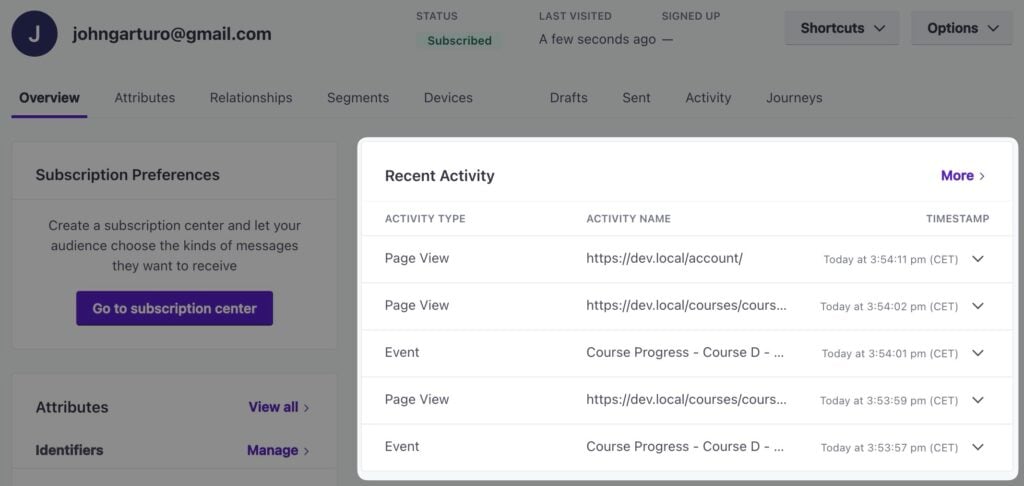
If your users are logged in or otherwise identified to WP Fusion (for example via an Auto Login Link) WP Fusion will also identify the user to the tracking script, and their site activity will be displayed on their Customer.io record.
#Drip
To enable Drip site tracking, check the box for Site Tracking on the General tab in the WP Fusion settings.
WP Fusion will automatically output the Drip tracking code in the footer of every page of your site. When someone logs in, makes a purchase, or submits a form, WP Fusion will automatically identify them to the tracking script.

Visits to your website will automatically show up on the Website Sessions tab on the Drip subscriber record.
#Emercury
To enable Emercury site tracking, check the box for Site Tracking on the General tab in the WP Fusion settings.
Note that you must be on a Pro or Scale plan with Emercury to use site tracking. If site tracking is not available for your account, WP Fusion will display an error message when you attempt to enable site tracking.
For site tracking to work you need to add your site’s domain inside the site tracking settings of your Emercury account. For more information on how site tracking works with Emercury, see this guide.
If your users are logged in or otherwise identified to WP Fusion (for example via an Auto Login Link) WP Fusion will also pass the user’s email address to the tracking script, which will associate their activity with their corresponding Emercury contact record.
#Encharge
To enable Encharge’s site tracking, first check the box for Site Tracking in the WP Fusion settings.
You will need your Write Key which can be found in your Encharge account.
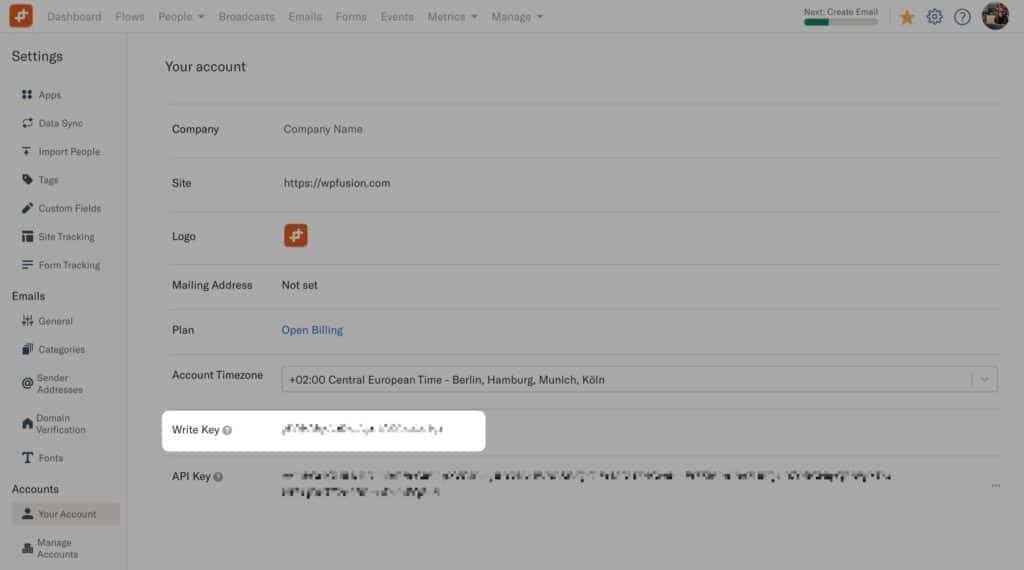
Once enabled, WP Fusion will output the Encharge tracking scripts in the header of every page on your site.
If your users are logged in or otherwise identified to WP Fusion (for example via an Auto Login Link or form submission) WP Fusion will also pass the user’s email address to the tracking script, which will associate their activity with their corresponding Encharge contact record.
#EngageBay
To enable EngageBay’s site tracking, first check the box for Site Tracking in the WP Fusion settings.
You will need your JavaScript API Key, which can be found in your EngageBay account.
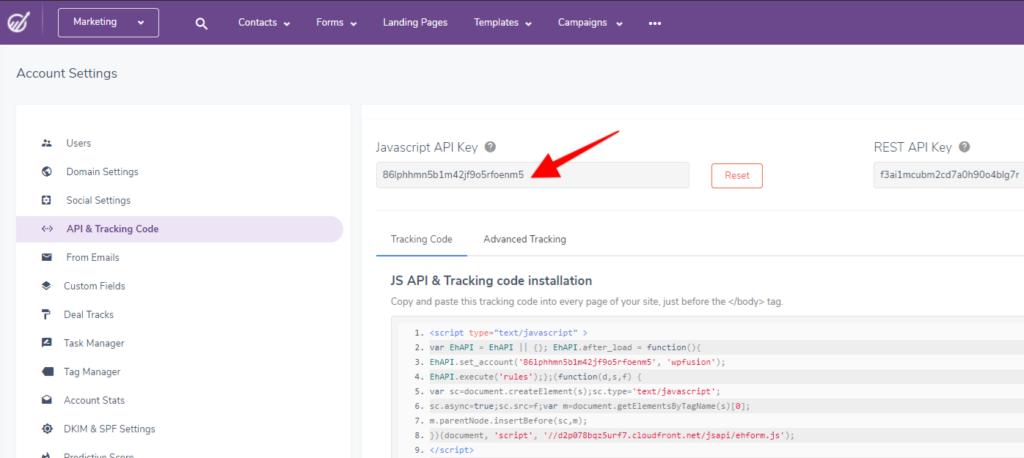
Once enabled, WP Fusion will output the EngageBay tracking code in the header of every page of your site.
If your users are logged in or otherwise identified to WP Fusion (for example via an Auto Login Link) WP Fusion will also pass the user’s email address to the tracking script, which will associate their activity with their corresponding EngageBay contact record.
#HubSpot
If site tracking is enabled for HubSpot, WP Fusion will load the site tracking scripts into the header of your site. WP Fusion will also identify any logged in users to the tracking script, by email address.
If a guest visitor submits a form or makes a checkout, WP Fusion will also identify the guest to the tracking script by email address, which allows the anonymous tracking data to be merged retroactively with the guest’s contact record.
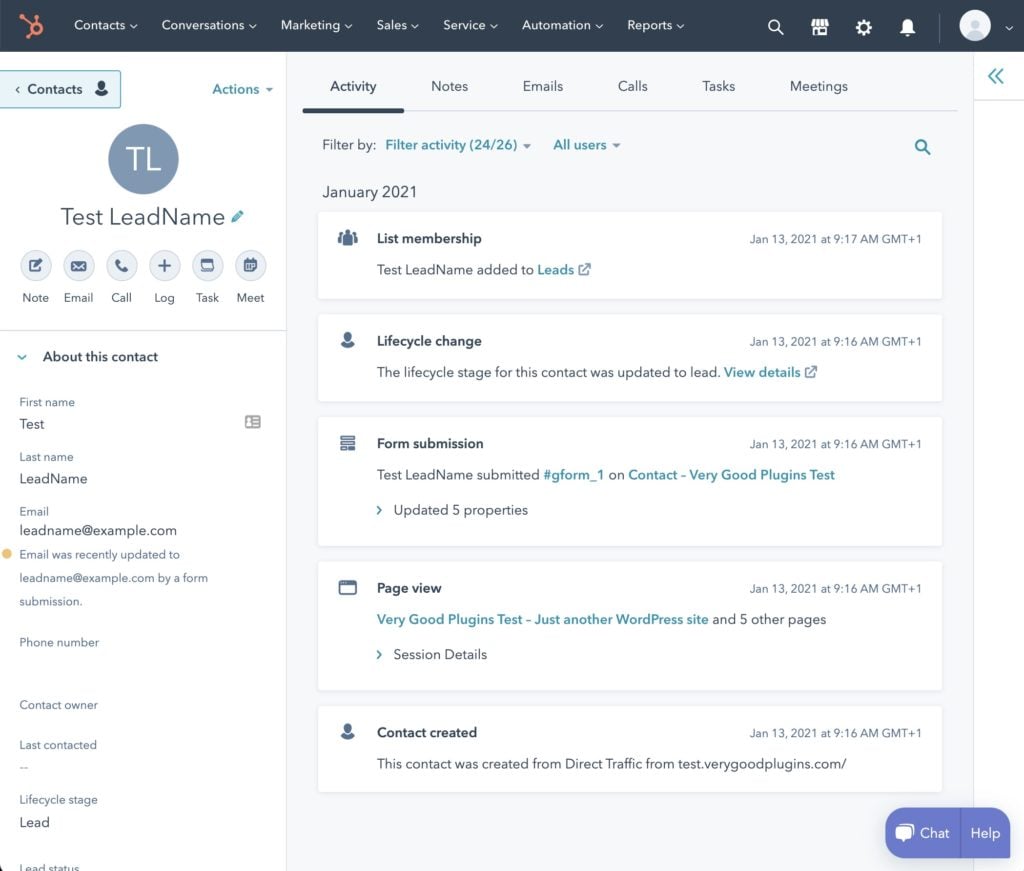
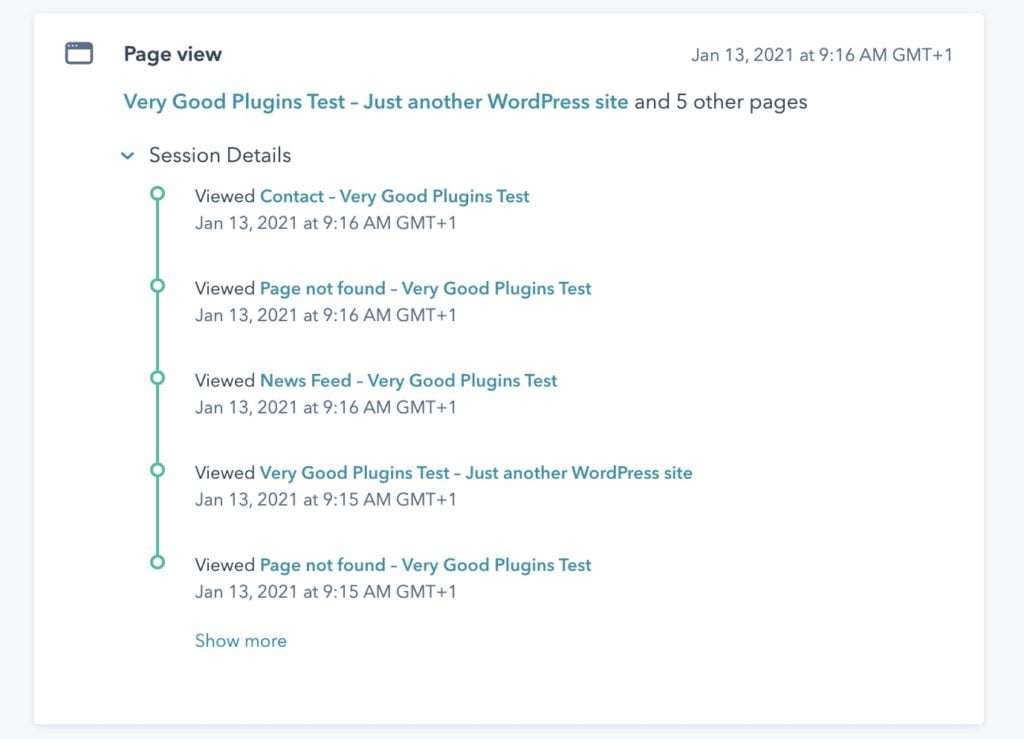
HubSpot’s tracking scripts are a little more sophisticated than our other supported CRMs. They will automatically detect when a form is on a page, and try to sync the submitted form values to HubSpot.
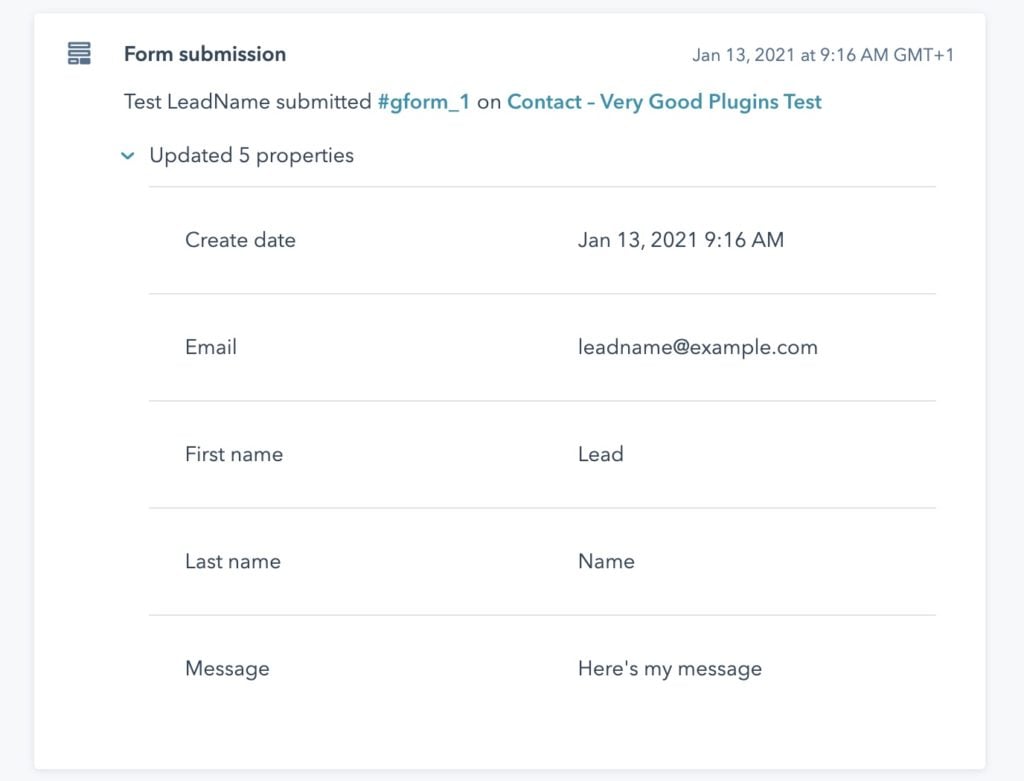
This generally works quite well, but can sometimes cause problems. For example the WooCommerce “Billing Email” can get synced to HubSpot and overwrite the customer’s account email. To improve the reliability of tracking, WP Fusion will automatically disable the site tracking scripts on the WooCommerce “My Account” page.
However this is not a 100% reliable solution to the problem, as the HubSpot script is always watching all inputs on your site to attempt to detect a profile form and/or email address change.
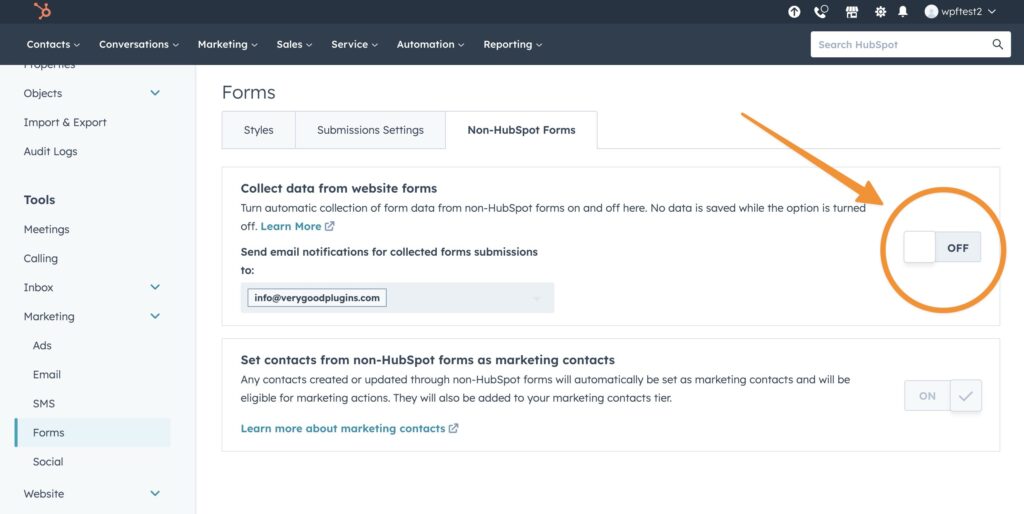
If you encounter unexpected property changes in HubSpot, you disable Support for Non-HubSpot Forms in your HubSpot account settings, under Settings » Tools » Marketing » Forms.
#Infusionsoft
#Intercom
To enable Intercom’s site tracking, first check the box for Site Tracking in the WP Fusion settings.
Once enabled, WP Fusion will output the Intercom tracking code in the footer of every page of your site.
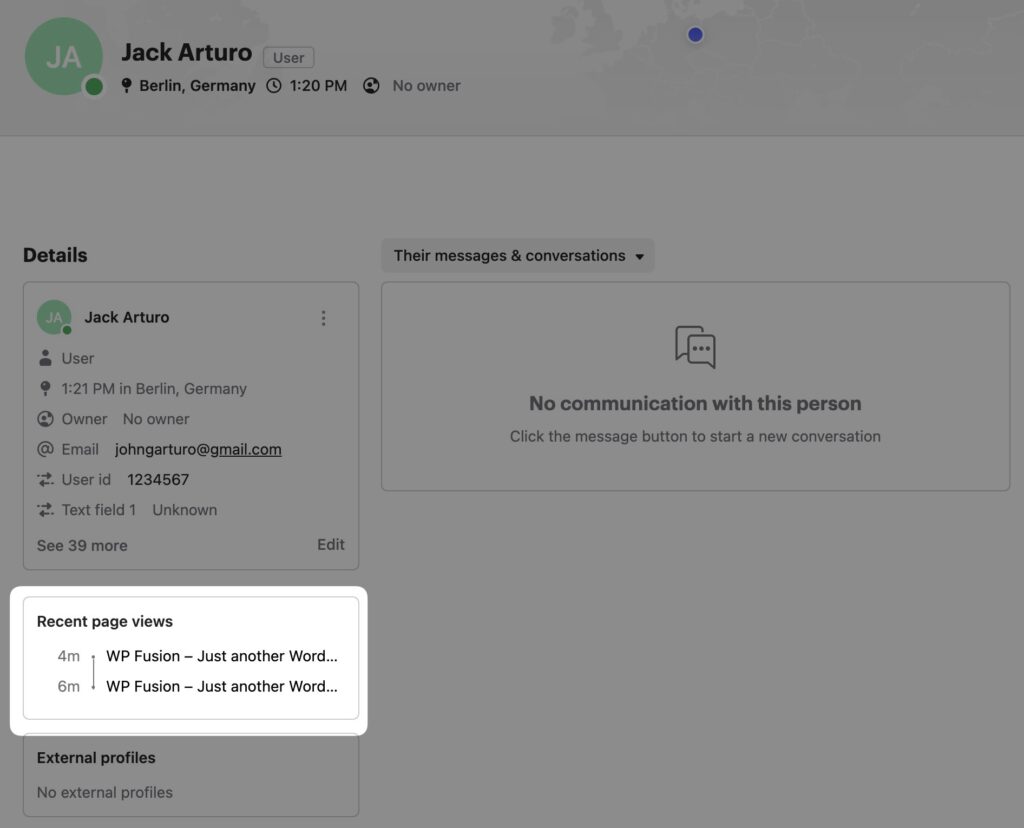
If your users are logged in or otherwise identified to WP Fusion (for example via submitting a form, or visiting an Auto Login Link) WP Fusion will also pass the user’s email address to the tracking script, which will associate their activity with their corresponding Intercom contact record.
#MailerLite
You can enable MailerLite site tracking by checking the box on the General tab in the WP Fusion settings.
When the setting is enabled, the MailerLite tracking script will be loaded into the header of every page on your site.
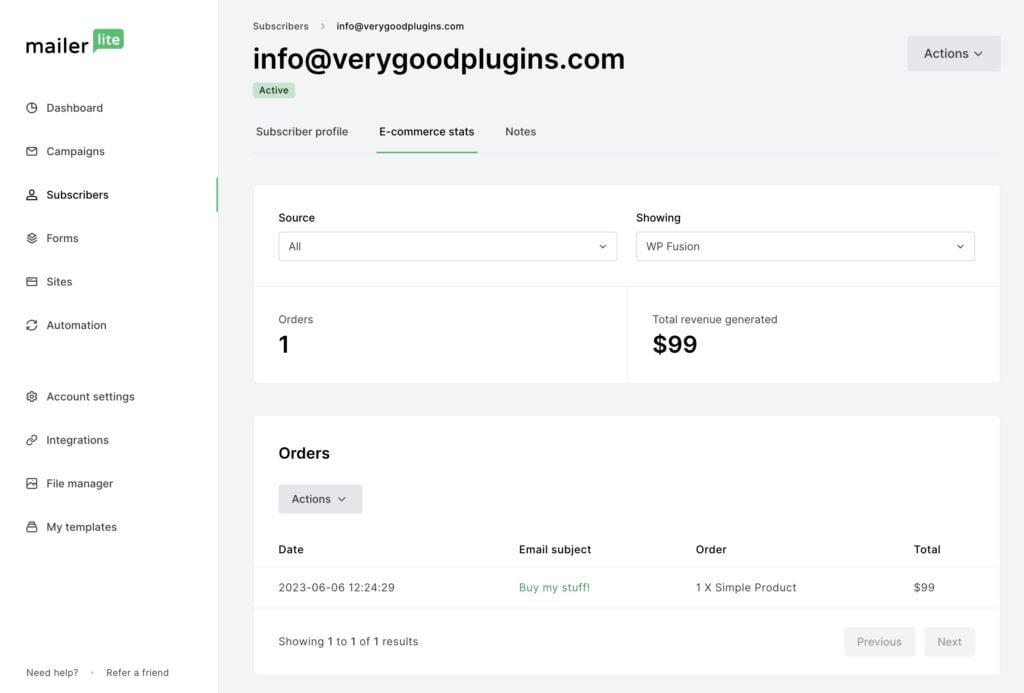
The MailerLite tracking script is necessary for tracking ecommerce performance from email campaigns with the Enhanced Ecommerce Addon for MailerLite.
#Mautic
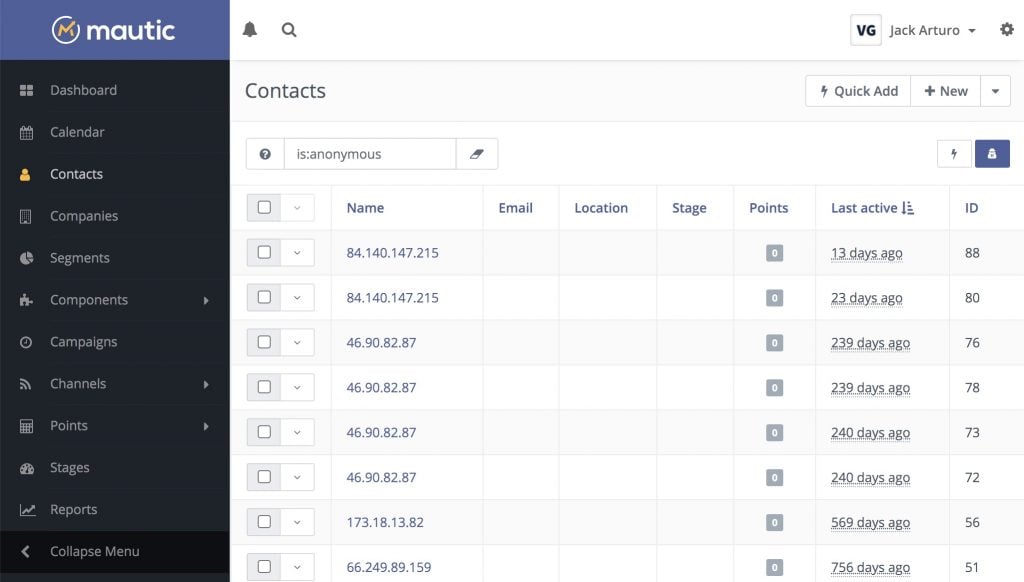
Mautic site tracking is a little more complicated than site tracking with our other supported CRMs.
Set up properly it can be very effective, but it can also cause problems with misidentified contacts, or contact records getting merged.

WP Fusion includes two options for Mautic site tracking:
- Site Tracking: Enabling this option includes the Mautic tracking script in the footer of your page and sends a
mt('send', 'pageview');event with each page view. This is the same as if you were using the WP Mautic plugin, or had added the tracking code manually. - Advanced Site Tracking: Enabling this option activates some additional tracking methods unique to WP Fusion. When Advanced Site Tracking is active:
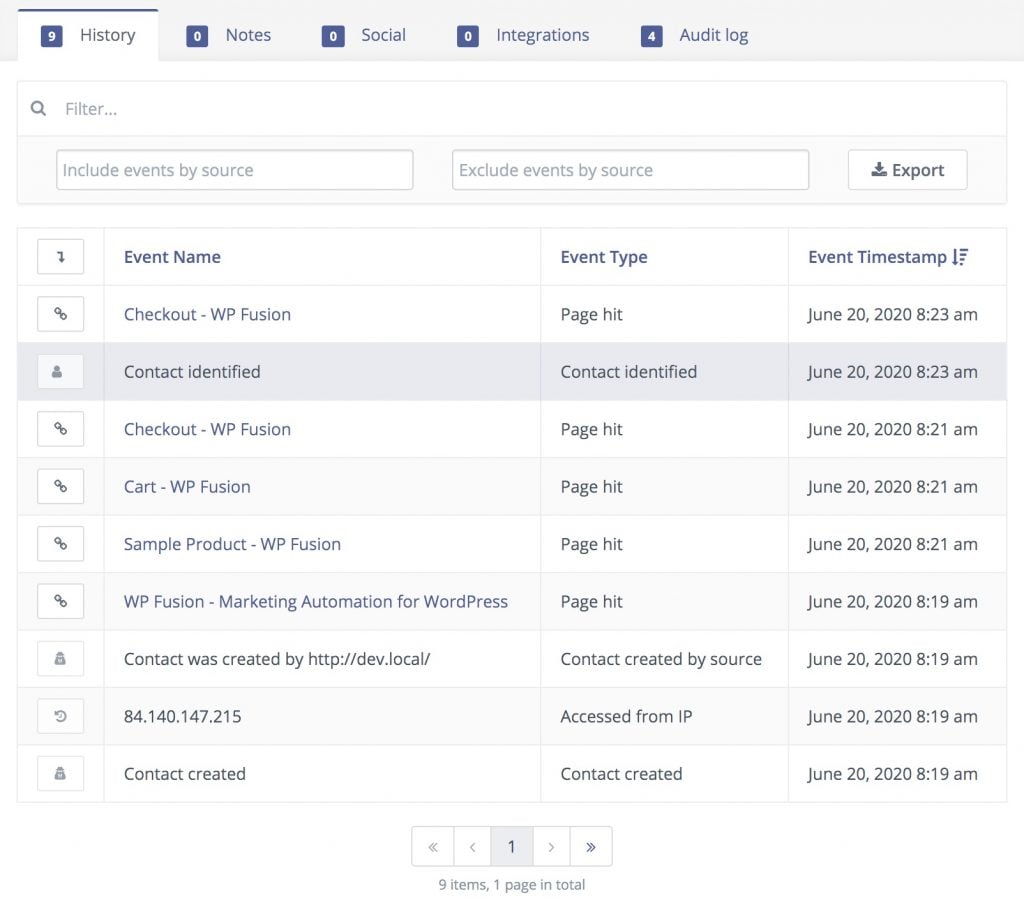
- If an anonymous visitor on your site is being tracked in Mautic, and later registers an account, submits a form, or makes a purchase, WP Fusion will merge the anonymous tracking data with the new contact record. This gives you a more complete picture of the visitor’s history on your site before they provided an email address.
- If a user is logged in to your site, WP Fusion will send a
mt('send', 'pageview', {"email":"EMAILADDRESS"} );event to Mautic’s tracking script, to track pageviews for logged in users in cases where they default Mautic tracking can’t properly identify them.
Where you need to be careful with Advanced Site Tracking is caching.
If [email protected] is logged into your site, and the Mautic tracking script is output to the footer of your page with Jane’s email address, then this could become cached.
If [email protected] later visits the same cached page, the tracking script would send a mt('send', 'pageview', {"email":"[email protected]"} ); event.
This would update Steve’s contact ID in Mautic with Jane’s email. Since the email address field in Mautic must be unique, this would merge the two contact records and delete Steve’s data and tags.
#Omnisend
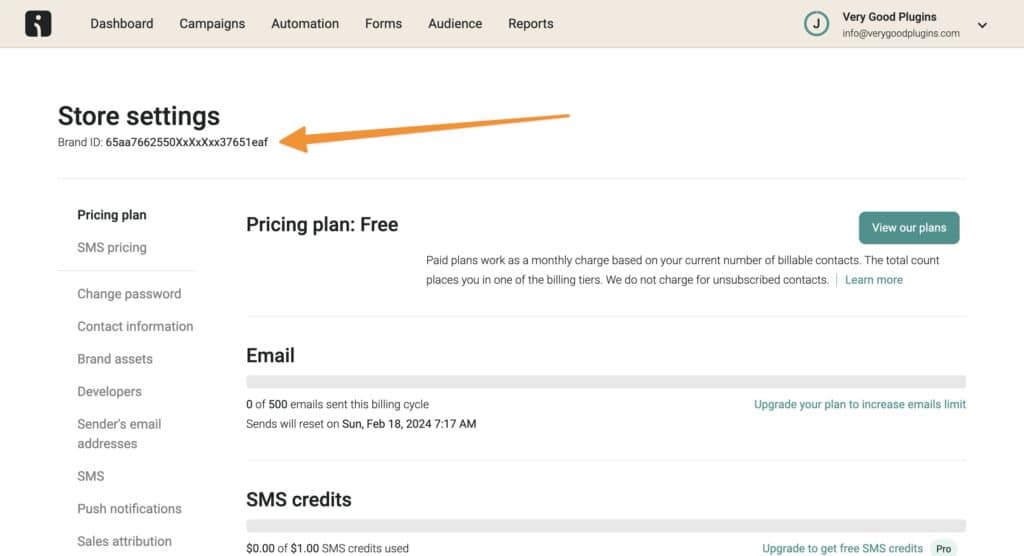
To use site tracking with Omnisend, enable the setting for Site Tracking from the General tab in the WP Fusion settings, and enter your Brand ID.
Your brand ID can be found in your Omnisend store settings.
When site tracking is enabled, WP Fusion will automatically output the Omnisend tracking script in the footer of all your pages.
If the current user is logged in, or if a guest submits a form or makes a purchase, WP Fusion will identify them to the tracking script by email address.
For more information on the tracking script, see the Omnisend documentation.
#Ontraport
Ontraport’s site tracking can be enabled by checking the Site Tracking checkbox on the General tab in the WP Fusion settings. This will output the Ontraport site tracking script in the footer of every page on your site.
#Developers
Site tracking will automatically be disabled when WP Fusion is set to Staging Mode (on the Advanced settings tab).
If needed you can also conditionally load the site tracking scripts via the wpf_get_setting_site_tracking filter.
For example, to disable site tracking for logged in administrators:
function disable_site_tracking() {

	if ( current_user_can( 'manage_options' ) ) {
		add_filter( 'wpf_get_setting_site_tracking', '__return_false' );
	}

}

add_action( 'init', 'disable_site_tracking' );
Or to disable site tracking on a specific page:
function disable_site_tracking() {

	if ( is_page( 'login' ) ) {
		add_filter( 'wpf_get_setting_site_tracking', '__return_false' );
	}

}

add_action( 'init', 'disable_site_tracking' );