#Overview
WP Fusion integrates with Fluent Forms to sync form submissions to any one of 50+ supported CRMs and marketing automation platforms.
When a Fluent Forms form is filled out a contact record will be created (or updated) in your CRM, with support for any number of custom fields. You can also apply tags to contacts in your CRM based on the form that was submitted, including support for conditional logic.
#Setup
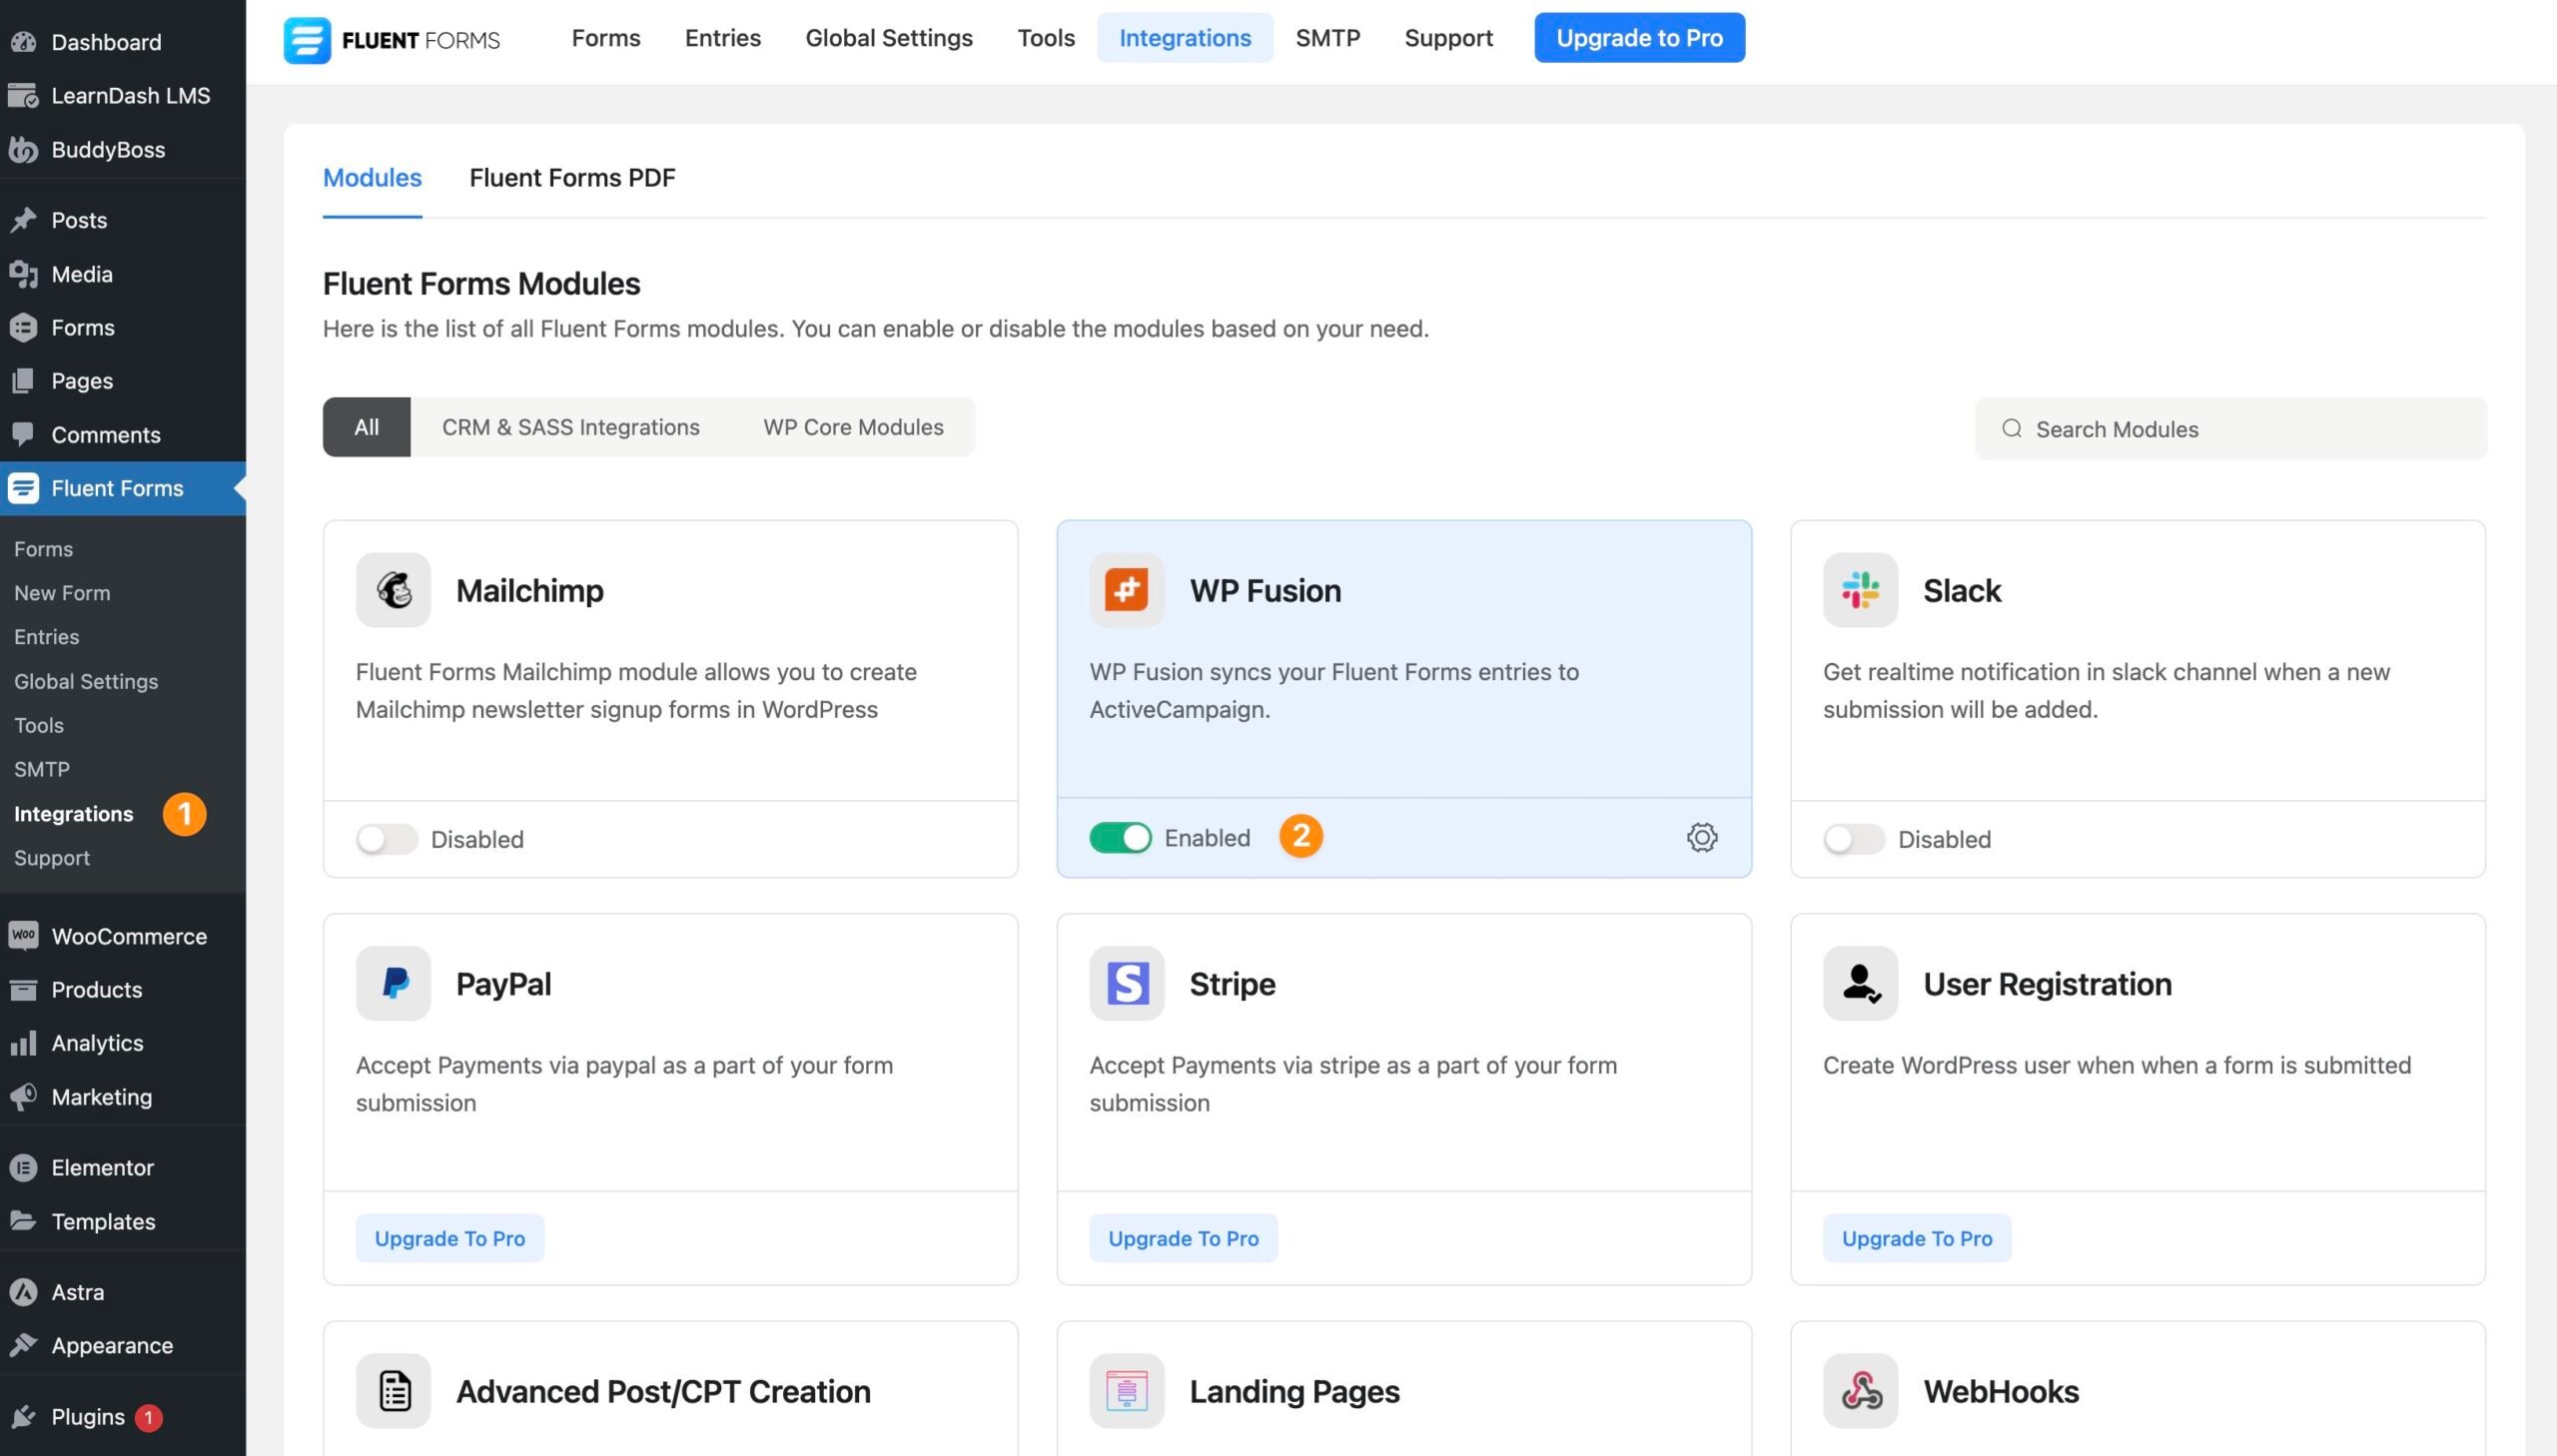
First navigate to Fluent Forms » Integrations in the WordPress admin and ensure the WP Fusion module is enabled:
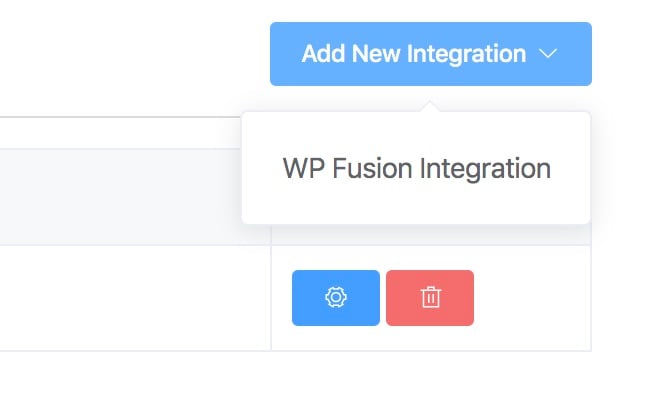
After creating your form, go to the form settings and open the Configure Integrations tab. Click Add New Integration, and choose “WP Fusion Integration” from the dropdown:
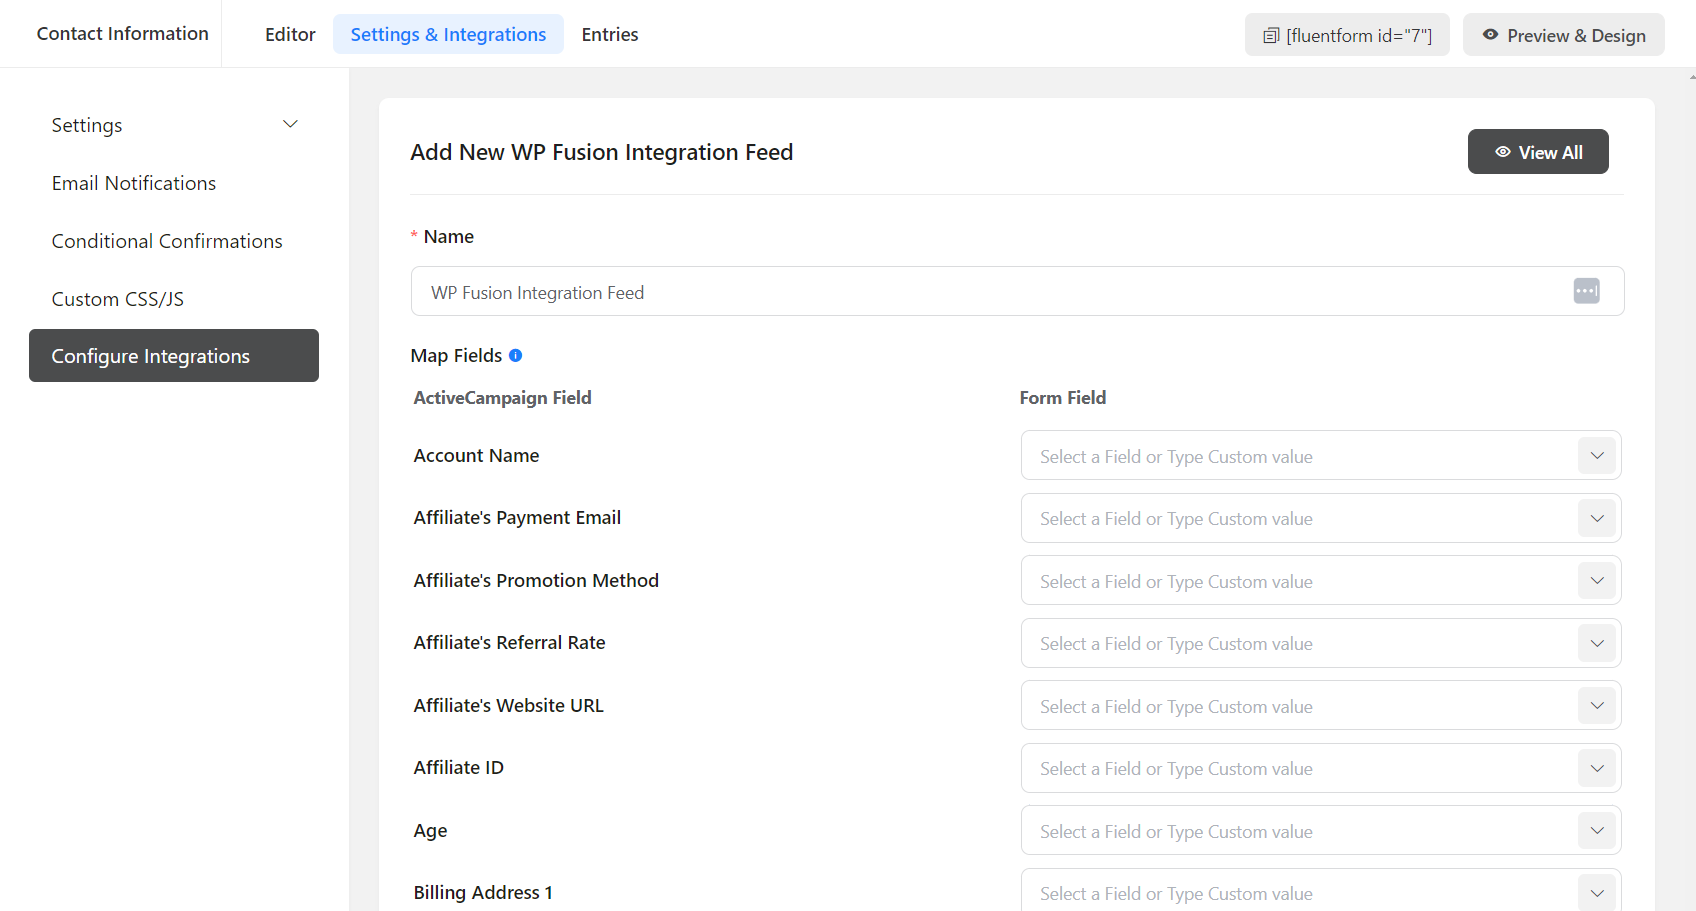
For each field on your form, you can select a corresponding contact field in your CRM to save the data.
You can also optionally specify tags to be applied to the contact when they fill out the form:

#Conditional tags
By checking the Enable Dynamic Tag Selection box, you can conditionally apply tags based on the submitted form values.

#User registration
The setup instructions above work with any version of Fluent Forms (including the free version).
This treats the form submission like a “lead”, or “opt in”— the data is synced directly to your CRM, one time.
If you are using Fluent Forms Pro, with the User Registration module, the setup is different. First, create your form, and add a User Registration module following this tutorial.
Add any custom fields to the user registration feed as User Meta.

Since your form fields are user fields, not lead fields, they will appear for mapping under the main Contact Fields list in the WP Fusion settings.
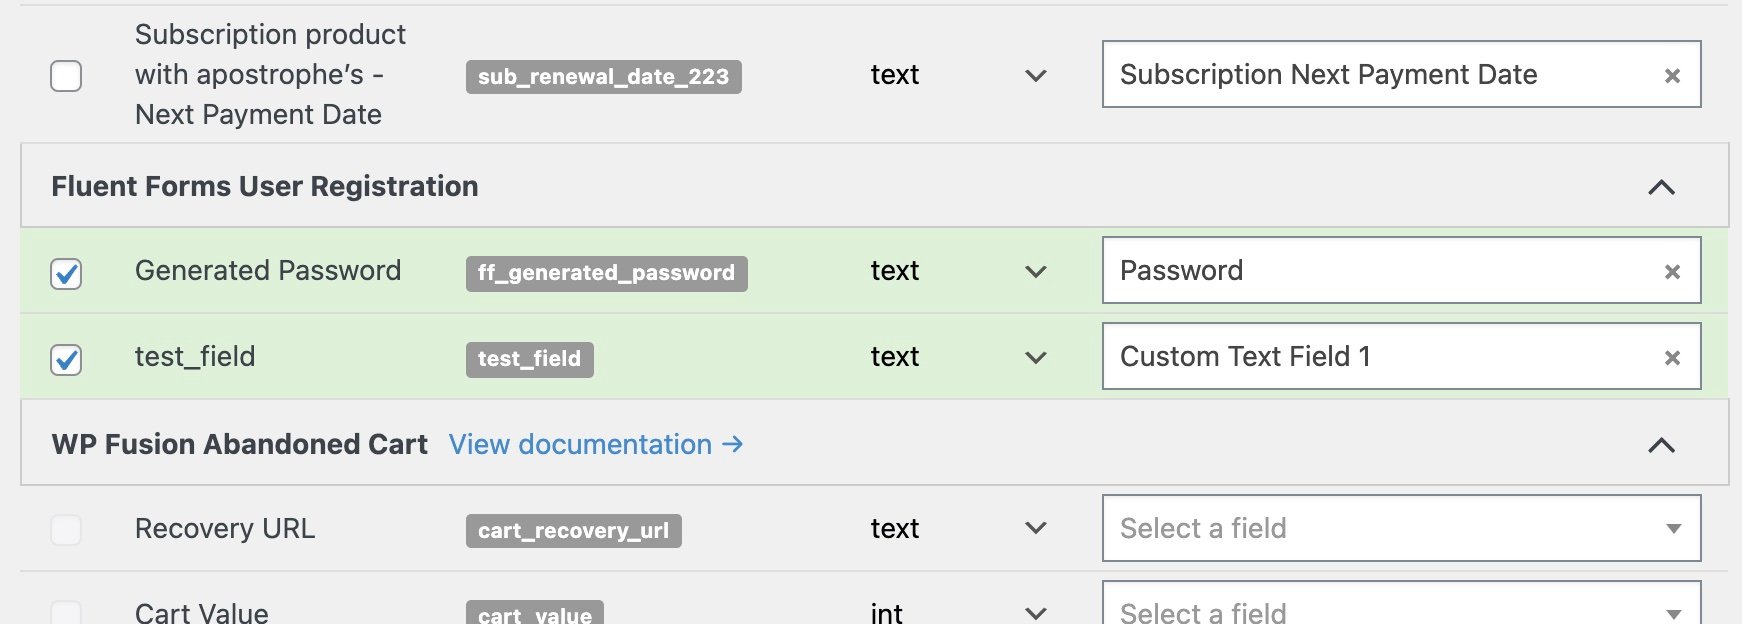
For each form field, you can select a custom field in your CRM. The data will be synced to the selected custom field when a user registers or updates their profile.
You can also enable the Generated Password field to sync any generated passwords to your CRM (one time) when users register via Fluent Forms.
#Syncing historical entries
If you already have existing Fluent Forms entries from before you installed WP Fusion, you can use a batch processing tool to export all of those entries to your CRM.
First configure your form feeds. Then navigate to Settings » WP Fusion » Advanced and scroll down to the Batch Operations section.
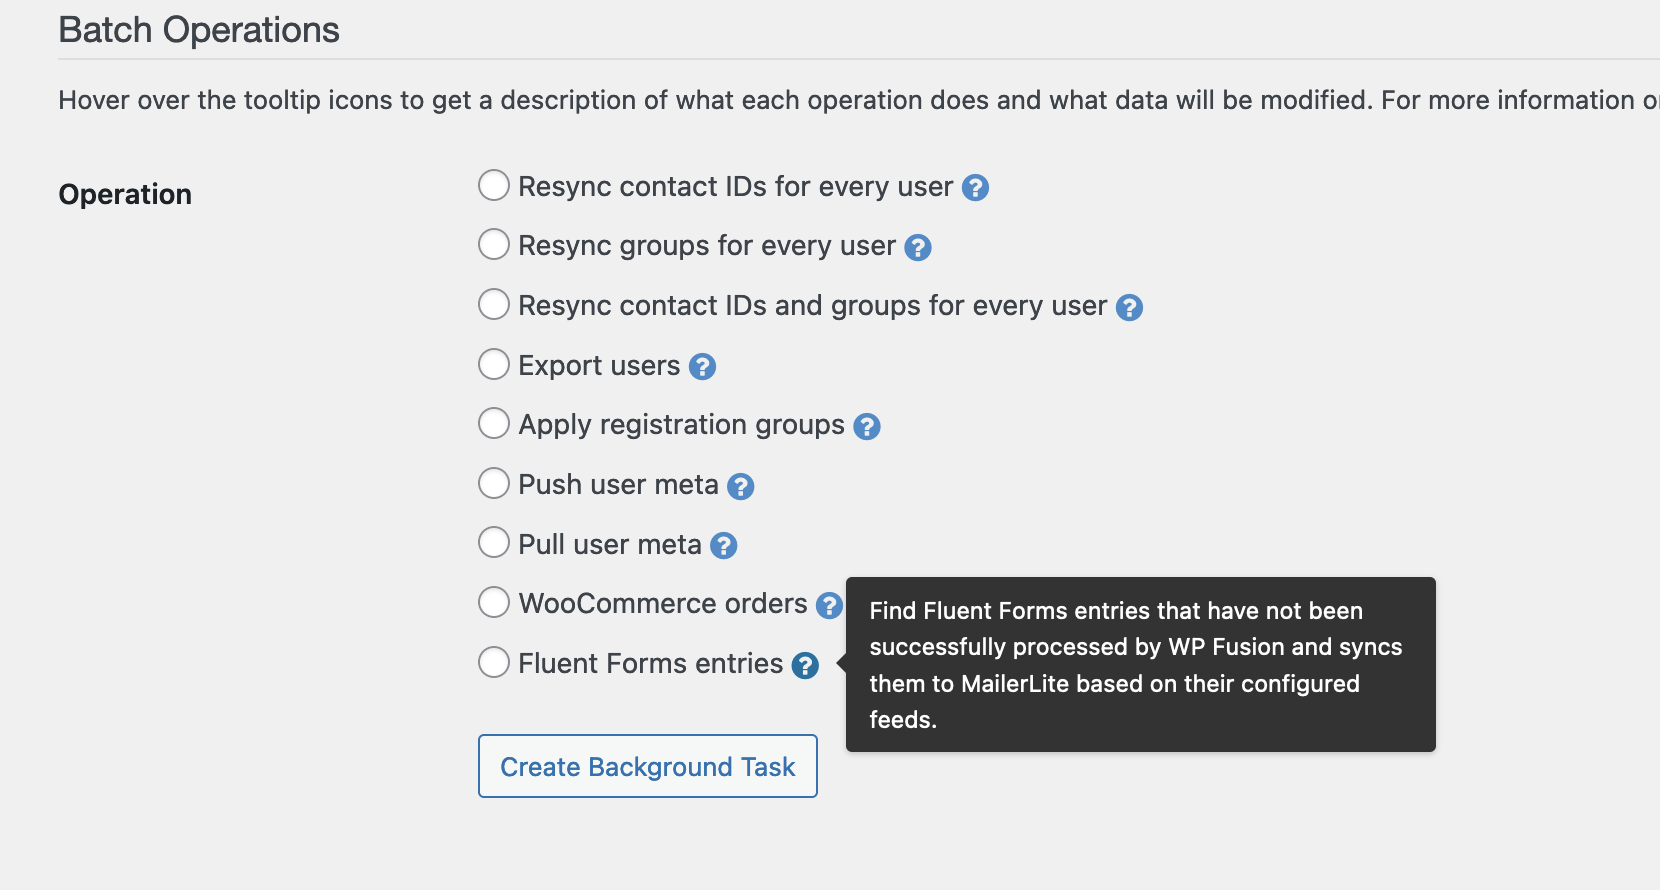
Select “Fluent Forms entries” from the list of options, and click Create Background Task.
WP Fusion will go through all of your historical entries, processing each according to the feeds set up on the corresponding form. A status bar will appear at the top of the page indicating the progress.