#Overview
WP Fusion integrates with GravityView to apply tags to contacts in your CRM when Gravity Forms entries are marked approved with GravityView.
#Setup
First create a WP Fusion feed for your form using our Gravity Forms integration. When GravityView is active WP Fusion will display a new setting for Apply Tags – Approved.
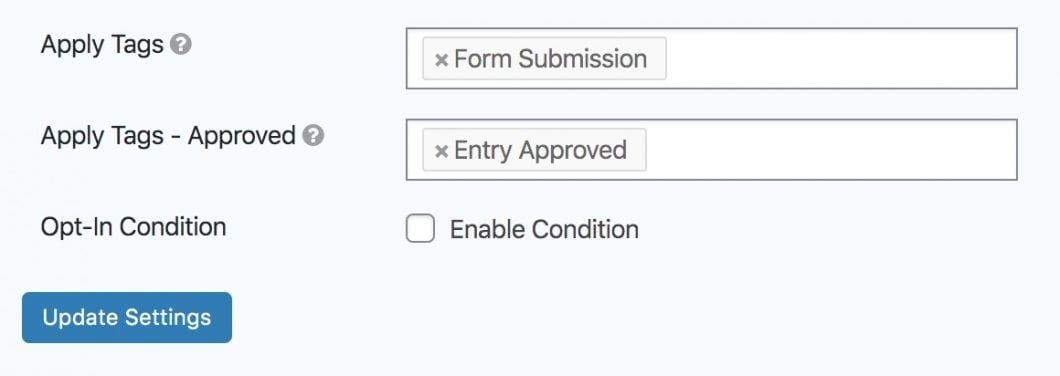
Here you can specify any tags that should be applied when entries are approved.
#Usage

When an entry is marked as approved (either a single entry or via bulk edit), WP Fusion will apply the specified tags to the contact record in your CRM that was created during the initial form submission.
#GravityEdit
When editing Gravity Forms entries using the GravityEdit extension, WP Fusion will automatically sync any updated form entries to the corresponding contact record in your CRM.
