In this video, you will learn how to install WP Fusion and set up a direct connection to your Groundhogg account.
To get started install and activate the plugin, then navigate to settings -> WP Fusion.
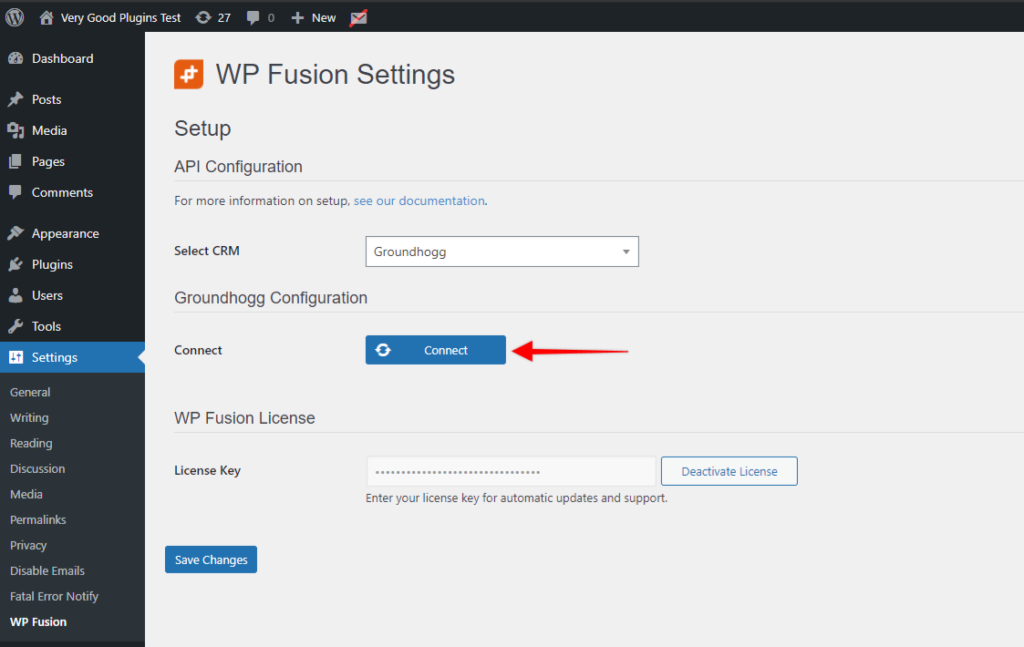
From the ‘Select Your CRM’ dropdown choose ‘Groundhogg’.
Then, click on ‘Connect’.
WP Fusion will now establish a direct connection to your Groundhogg account and import your tags and custom fields.
To finalize the process click on ‘Save Changes’.
#Custom Fields
To load the newly added Groundhogg custom fields into the dropdown in WordPress, ensure that you save a value to the custom field for any contact in Groundhogg. Then, go to Settings » WP Fusion » Setup and click Refresh Available Tags & Fields.
Was this helpful?
Let us know if you liked the post. That’s the only way we can improve.