How to Connect BirdSend to WordPress

In this video, you will learn how to install WP Fusion and set up a direct connection to your BirdSend account.

To get started install and activate the plugin, then navigate to settings -> WP Fusion.

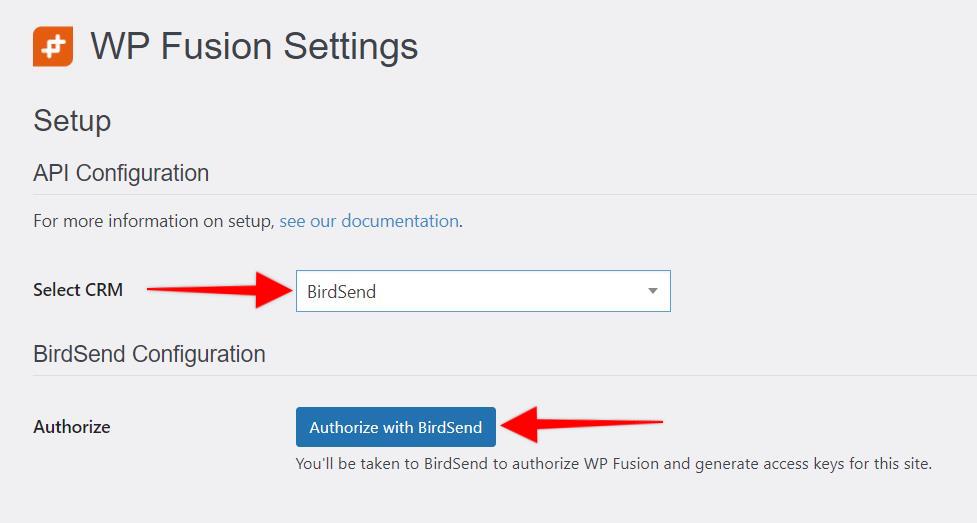
From the ‘Select Your CRM’ dropdown choose ‘BirdSend ’.

To enable the connection we need to authorize with BirdSend and generate access keys for your website.

1. Click ‘Authorize with BirdSend’:

Screenshot of WP Fusion CRM integration settings page showing CRM selection and authorization section. BirdSend is chosen in the dropdown menu for CRM. A blue button labeled Authorize with BirdSend is below for seamless integration.

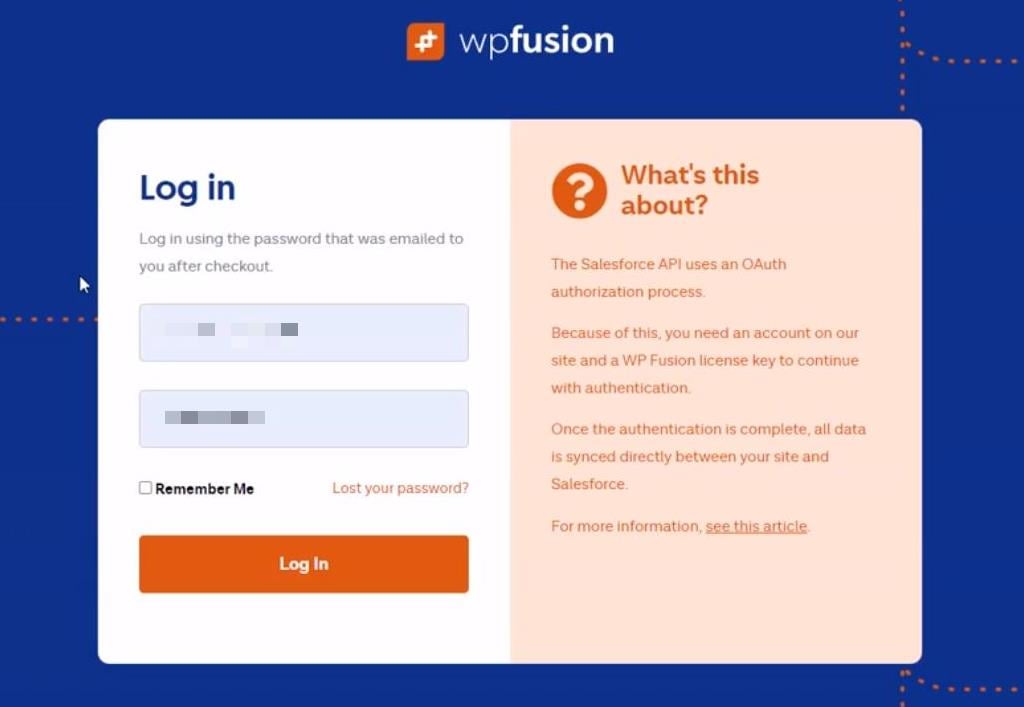
2. Login to your WP Fusion account:

Login screen for WP Fusion. On the left, enter your username and password, check Remember Me, and hit Log In. The right side delves into WP Fusion CRM integration with Salesforce API, offering a link for more details.

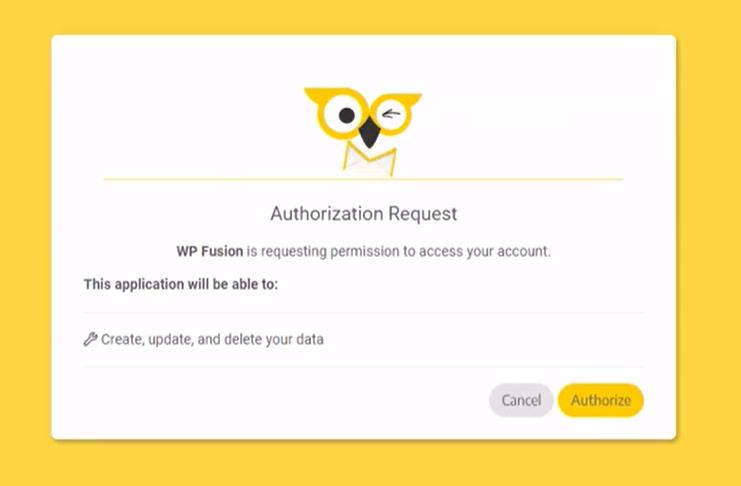
3. Authorize WP Fusion:

A screenshot of an authorization request interface from WP Fusion CRM integration features a yellow, winking owl logo. It requests permission to create, update, and delete data. The user can choose to Cancel or Authorize using the buttons provided.

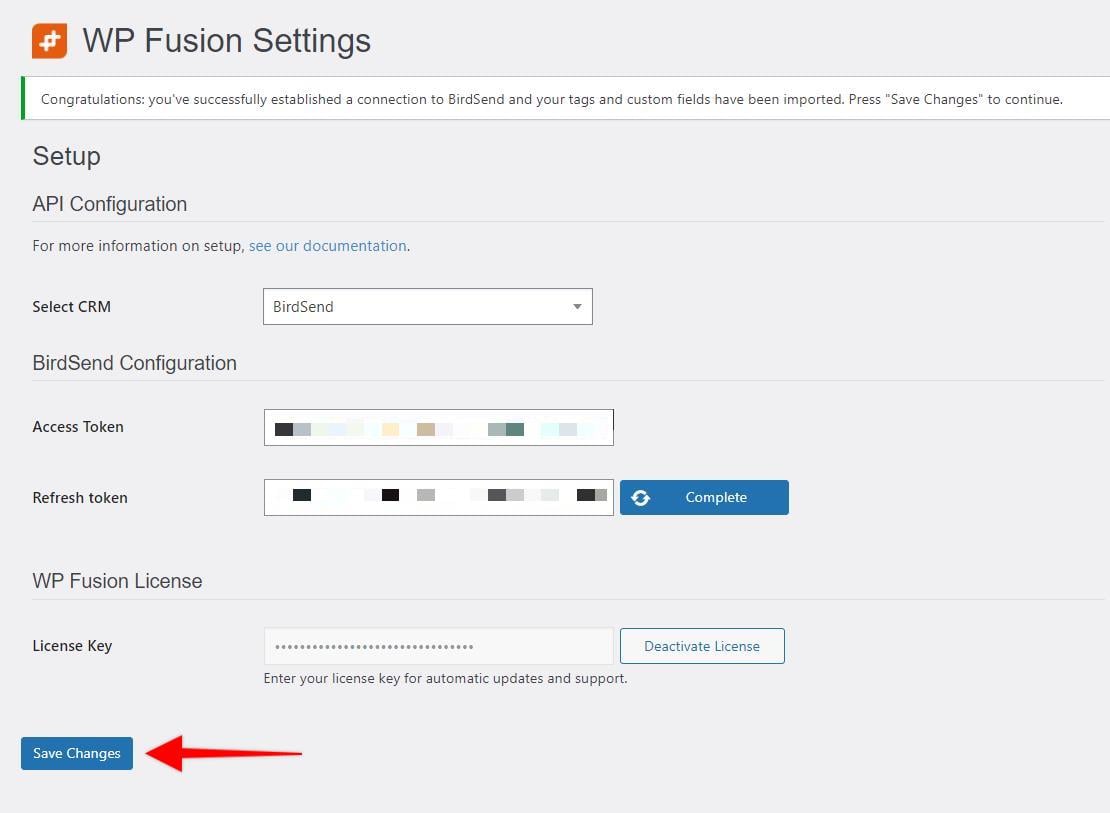
WP Fusion will now establish a direct connection to your BirdSend account and import your tags and custom fields. To finalize the process click on ‘Save Changes’.

Screenshot of WP Fusion settings page displaying CRM integration fields for selecting a CRM and entering API tokens. Theres also a section for license key input. A red arrow directs attention to the Save Changes button at the bottom left.

Was this helpful?