In this video, you will learn how to install WP Fusion and set up a direct connection to your EngageBay account.
To get started install and activate the plugin, then navigate to settings -> WP Fusion.
From the ‘Select Your CRM’ list choose ‘EngageBay’
Next, we will need to locate two pieces of information to initiate the connection. The ‘Subdomain’ and the ‘API Key’.
To find the ‘Subdomain’ login to your EngabeBay account and look at the URL in your browser’s address bar.
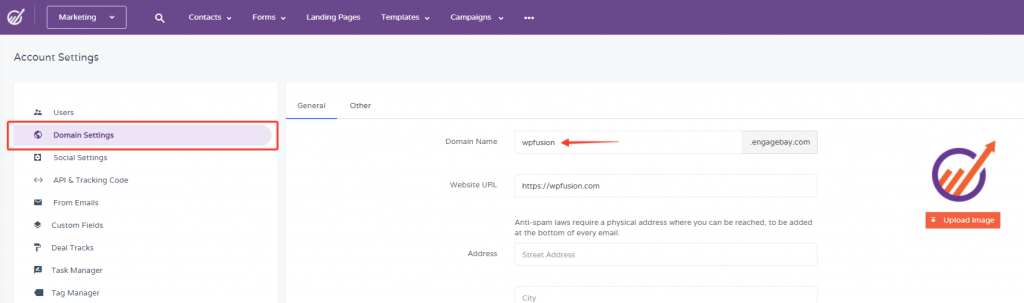
The first part, immediately after https and prior to ‘EngageBay’ is your subdomain. Or in your EngageBay navigate ‘Account Settings’ and click on ‘Domain Settings’ and copy the ‘Domain Name’
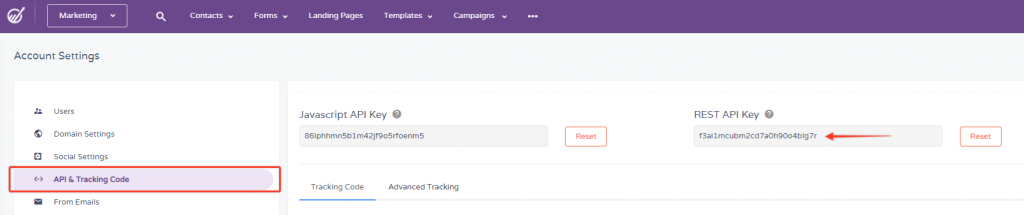
Next, we need to locate our EngageBay API key.
In your EngageBay, navigate to ‘Account Settings’ and click on ‘API & Tracking Code’ and copy the ‘REST API Key’.
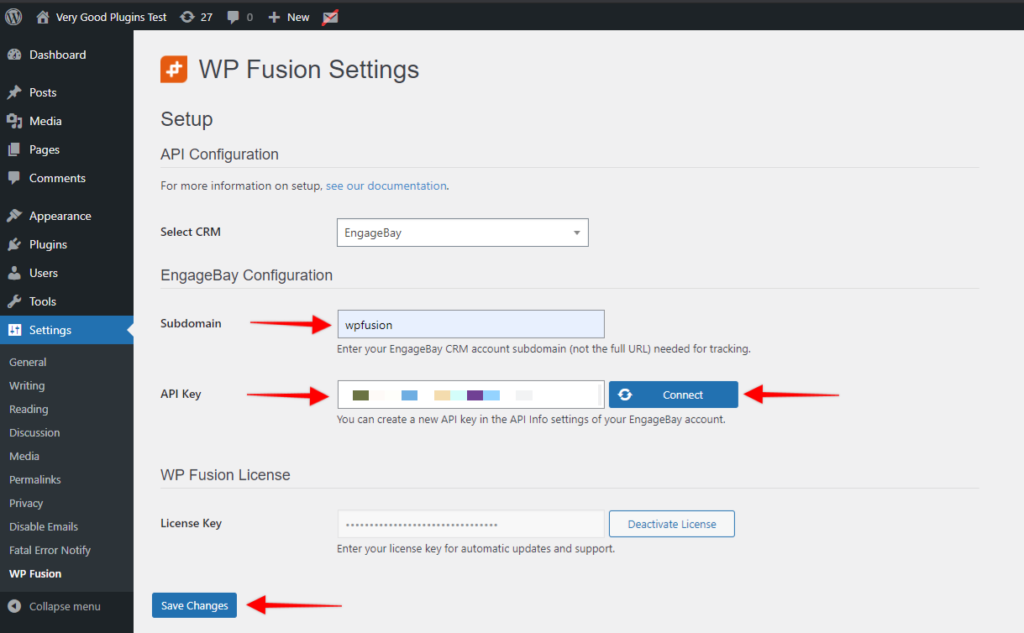
Finally, click on ‘Connect’.
WP Fusion will now establish a connection to Engagebay and import your tags and custom fields.
To finalize the process click on ‘Save Changes’.