How to Connect PulseTechnologyCRM to WordPress

In this video, you will learn how to install WP Fusion and set up a direct connection to your PulseTechnologyCRM account.

To get started install and activate the WP Fusion plugin, then navigate to settings -> WP Fusion.

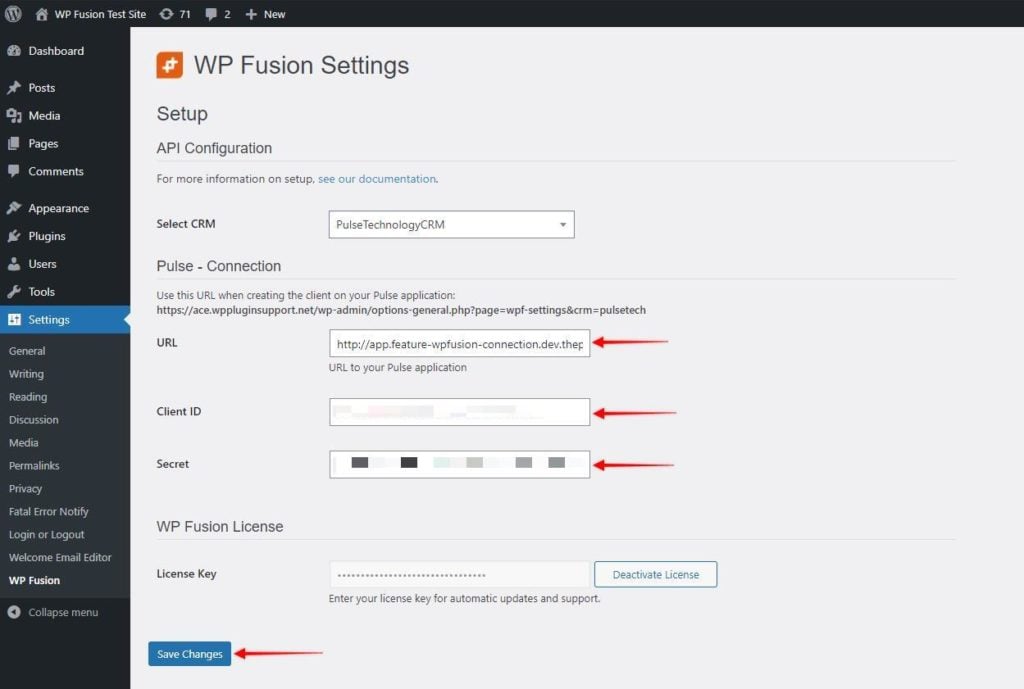
From the ‘Select Your CRM’ list, choose ‘PulseTechnologyCRM’.

Next, we will need to locate three pieces of information to initiate the connection. The ‘Pulse application URL’, ‘Client ID’ and the ‘Secret’.

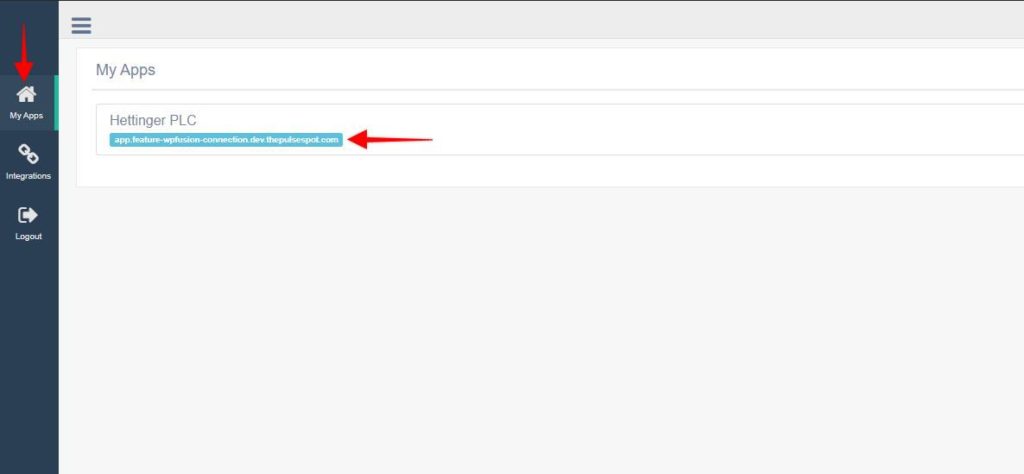
Login to your PulseTechnologyCRM account and navigate to ‘My Apps’ and there you can see the ‘Pulse application URL’

Screenshot of a dashboard with a sidebar featuring icons for Home, WP Fusion CRM integration, and Logout. The main section shows My Apps with the app Hettinger PLC and a highlighted link. Red arrows point to icons and the link for easy navigation.

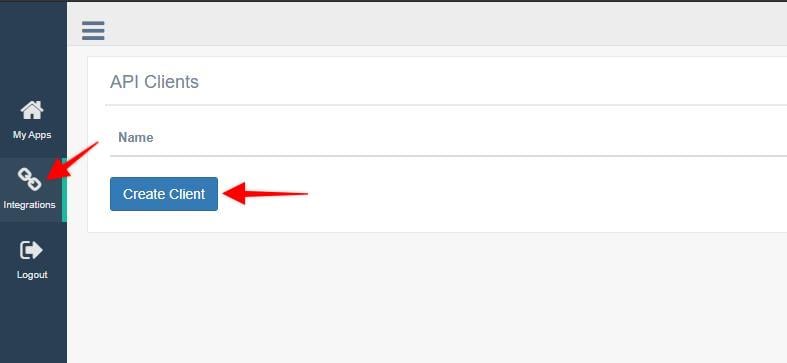
To find the ‘Client ID’ and the ‘Client Secret’, navigate to ‘Integrations’ and click on ‘Create Client’.

A webpage showcases a section titled API Clients alongside a mostly empty table. A blue button labeled Create Client sits invitingly, while red arrows highlight the Integrations menu and the Create Client button, hinting at seamless WP Fusion CRM integration potential.

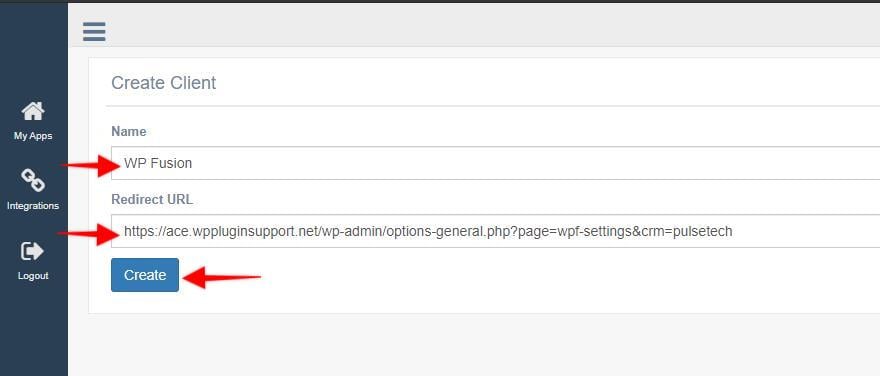
Enter the ‘Client Name’ and the ‘Redirect URL’ (which you could find in the WP Fusion Setup)

Screenshot of WP Fusion CRM integration settings in WordPress. The API Configuration section is displayed with fields to select CRM, URL, Client ID, and Secret. An example setup is highlighted with a URL for use in a Pulse application.

Screenshot of a software interface displaying a Create Client form, featuring fields for WP Fusion CRM integration and Redirect URL, with a sample URL entered. A blue Create button sits at the bottom, complemented by navigation links on the left.

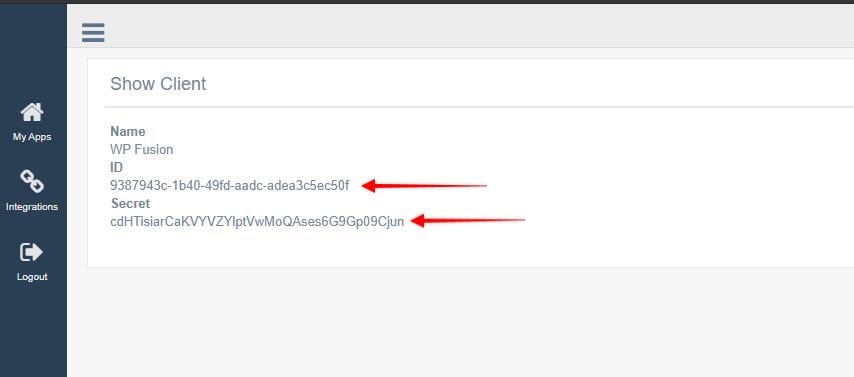
After creating the ‘Client’, copy the Client ID and Secret, and paste into WP Fusion.

Screenshot of a web page displaying client details from the WP Fusion CRM integration. The page shows Name: WP Fusion, ID: 9387943c-1b40-49fd-aadc-adea3c5ec50f, and Secret: cdhTiisiarCaKVYZVpvtWMo0Ases69G9p09Cujn.

And, click on ‘Save Changes’.

A screenshot of a WP Fusion Settings page highlights the CRM integration setup, featuring fields for URL, ID, and Secret. Red arrows point to text fields and buttons like Save Changes and Deactivate License for seamless CRM connection.

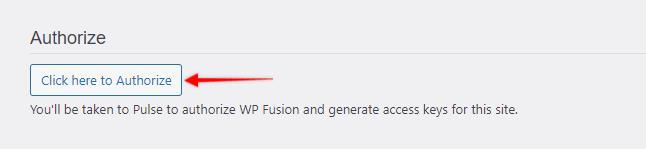
Then you’ll have to Authorize the connection. And WP Fusion will now establish a direct connection to your PulseTechnologyCRM and import your tags and custom fields.

Screenshot displaying a webpage section with a button labeled Click here to Authorize. A red arrow points to the button. Below, text states, Youll be taken to Pulse for WP Fusion CRM integration and generate access keys for this site.

To finalize the process click on ‘Save Changes’.

Was this helpful?