
#Overview
In this guide, you will learn how to install WP Fusion and set up a direct connection to integrate your WordPress website with your Klaviyo account.
To get started, install and activate the WP Fusion plugin, then navigate to Settings » WP Fusion.
From the ‘Select Your CRM’ list, choose ‘Klaviyo’.

Click ‘Authorize with Klaviyo’ to initialize the connection and generate access and refresh tokens for your website.
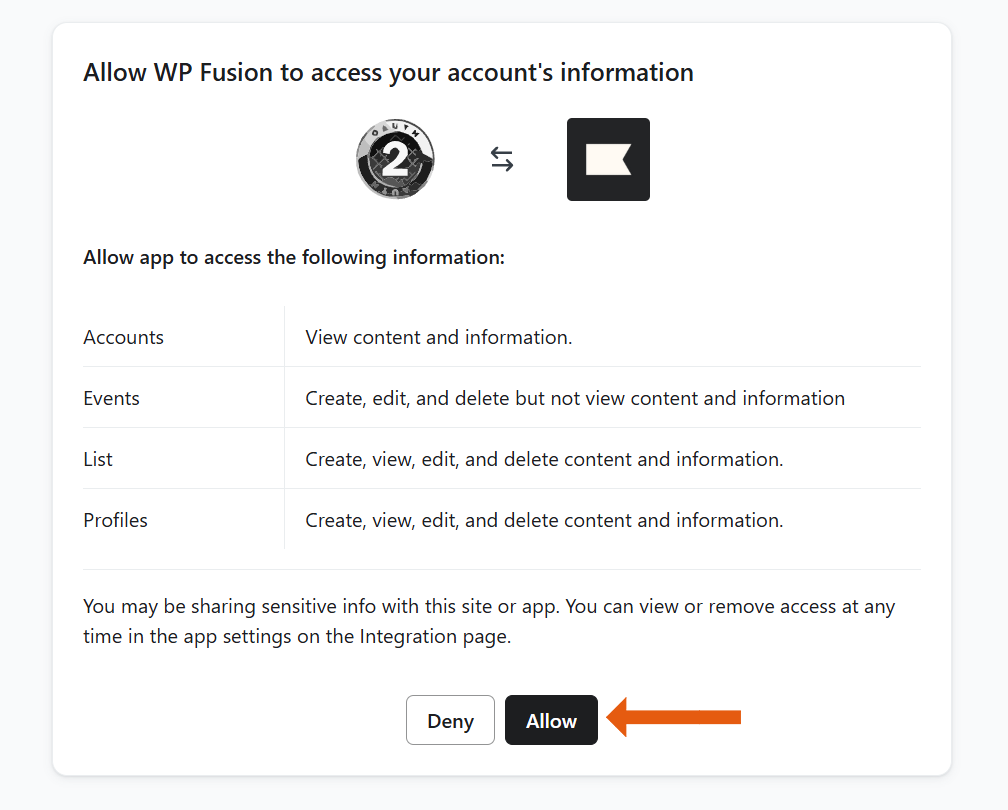
Allow WP Fusion (OAuth).
Once the connection is completed, click Save Changes below to save the changes.
That’s it! Your site is connected, and new WordPress users and customers will automatically be synced with Klaviyo in real time.
- For exporting historical data from before you installed WP Fusion, check out the Exporting Data guide.
- For mapping and syncing additional custom fields with Klaviyo, see the Syncing Contact Fields guide.
- For using Encharge lists to track activity in WordPress and personalize the user experience, check out the Working with Tags and Restricting Access to Content guides.
#Event tracking
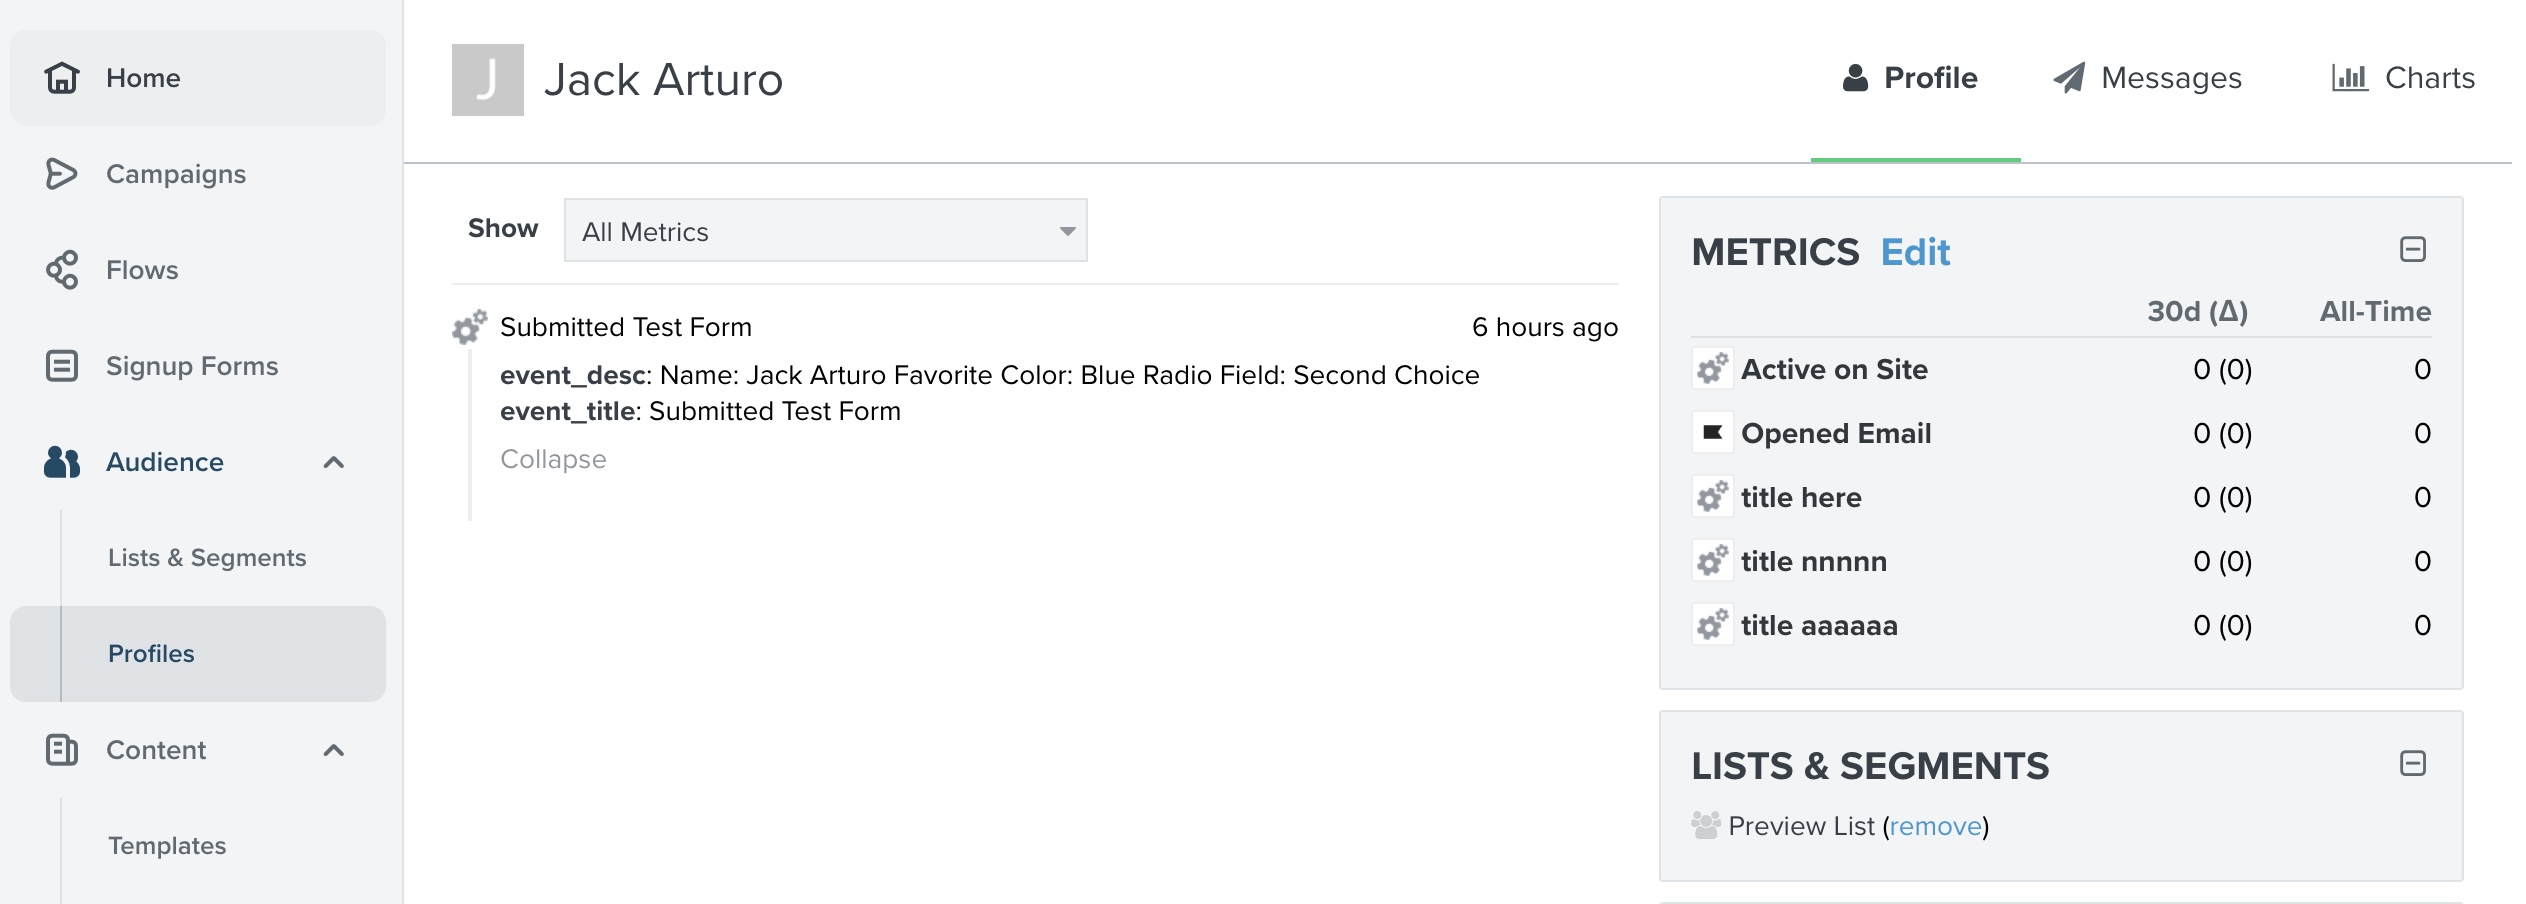
WP Fusion’s Event Tracking Addon can send events in real-time from supported plugins to Klaviyo. For more information, see the documentation.